
The Pennine Way is hard for a whole constellation of reasons — the cumulative mileage, the relentless elevation gain, the bogs that seem to have personal vendettas, the exposed terrain, the logistics, and the slow erosion of your morale as you realise you’re only halfway through the day and already fantasising about dry socks.
I cover the full picture in Is the Pennine Way Hard?, but this page is where we get specific: the hardest individual sections of the trail.
Before we dive into the ranking, an admission: I originally tried to create a neat scoring system. Something scientific. Objective. Then I realised it wouldn’t work. For one, the trail is as much a mental challenge as a physical one. Everyone’s attitude is different. I’m perfectly happy breathlessly clambering up a steep ascent if the views are good — the the scenery distracts me from the fact my lungs are buffering like a 90s modem halfway up the slope— so any scoring system would have had to deduct points for good views. That felt too complicated.
Secondly, the weather is a major factor on the Pennine Way. Having revisited many stretches of the trail — some of them several times — I’ve experienced the same sections in completely different conditions: firm, dry ground in sunshine versus ankle‑deep bog in persistent rain. The contrast is significant enough that any attempt at a fixed scoring system would be misleading.
For this reason, I’ve kept the approach less scientific and more subjective, acknowledging the role of the intangibles and relying on a realistic sense of how each section felt when I walked it.
Here is my Top 10 Hardest Parts of the Pennine Way, based on my own experiences during my thru‑walk and subsequent return visits.
10. Pen‑y‑ghent (Malham → Horton‑in‑Ribblesdale)
This is the first of several entries that appear in both my Top 10 Hardest Parts of the Pennine Way and my Top 10 Highlights, which may seem contradictory. The scenic quality of this section reduces the perceived difficulty, as part of the challenge of the trail is mental as well as physical, and I’m generally content on a breathless ascent if the scenery is motivating.
These are the final miles of an excellent 14.5‑mile day from Malham, and the cumulative fatigue begins to show. On my thru‑walk, the wind also played a significant role, repeatedly blowing me off the trail on the southern ascent. There is a short section where you may need to use your hands to steady yourself, but otherwise it is not as demanding as the 694m elevation might suggest — despite being one of the highest points on the Pennine Way.
The reward is the descent into Horton‑in‑Ribblesdale and the chance of a pub dinner, although “chance” is the operative word given Horton’s seasonal opening hours.
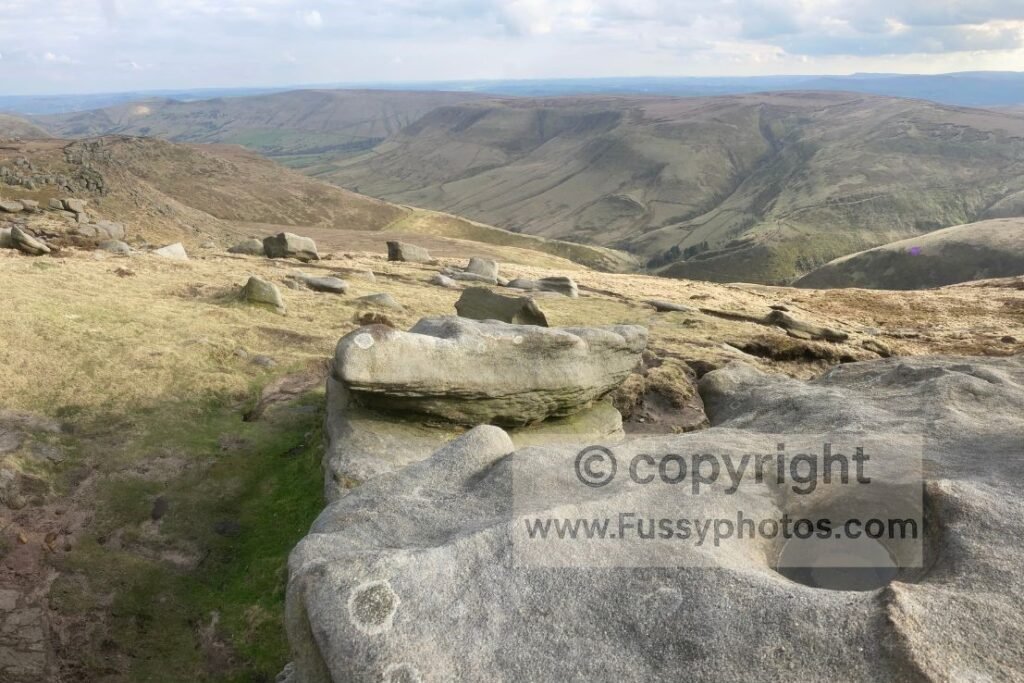
9. Jacob’s Ladder to Kinder Low (Edale → Kinder Plateau)
This section is free of bogs and the footpath is well maintained, although Jacob’s Ladder itself can be quite steep, with steps of varying shapes and sizes. It remains manageable if you take it slowly and steadily. As it is the first significant climb of Day 1, your morale and energy levels will be high, and the surrounding views improve as you gain elevation. You can also expect company on this stretch, as it is a popular route with plenty of people around — which at least confirms you’re on the right path, even if they’re all overtaking. It is relatively sheltered from the wind, and the ascent is only around a mile in length.

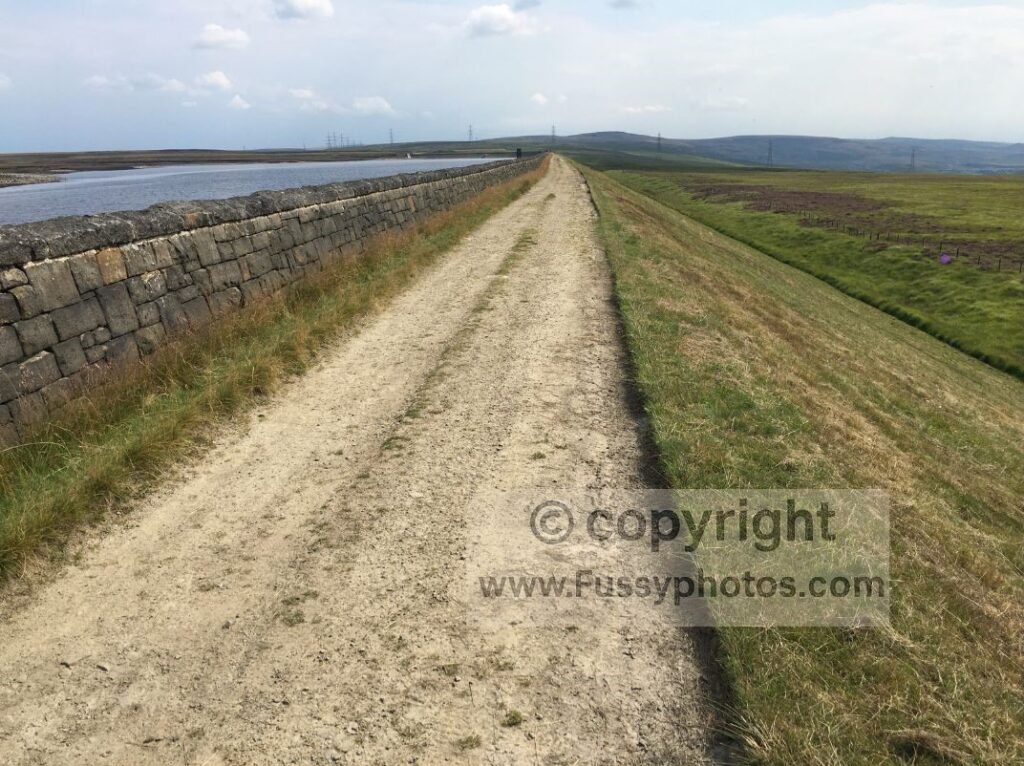
8. Death by Reservoirs: Blackstone Edge Reservoir → Warland Reservoir
A controversial entry because it’s physically easy and relatively flat. But mentally? A masterpiece of monotony.
For three miles you follow a straight track with a stone wall on one side and a view that never changes on the other. It’s like walking through a screensaver that forgot to load.
This comes at the end of an 11‑mile day — short by Pennine Way standards — but the mind‑numbing repetition earns it a place above its more scenic neighbours.
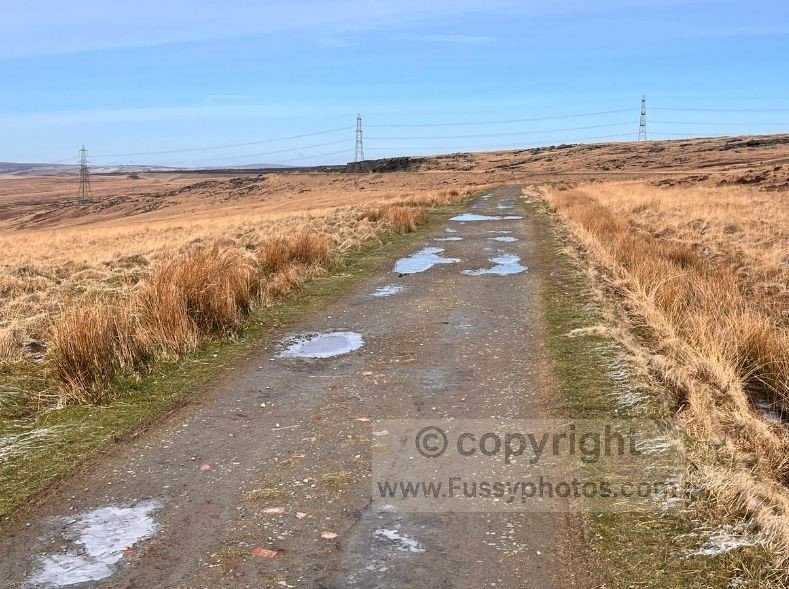
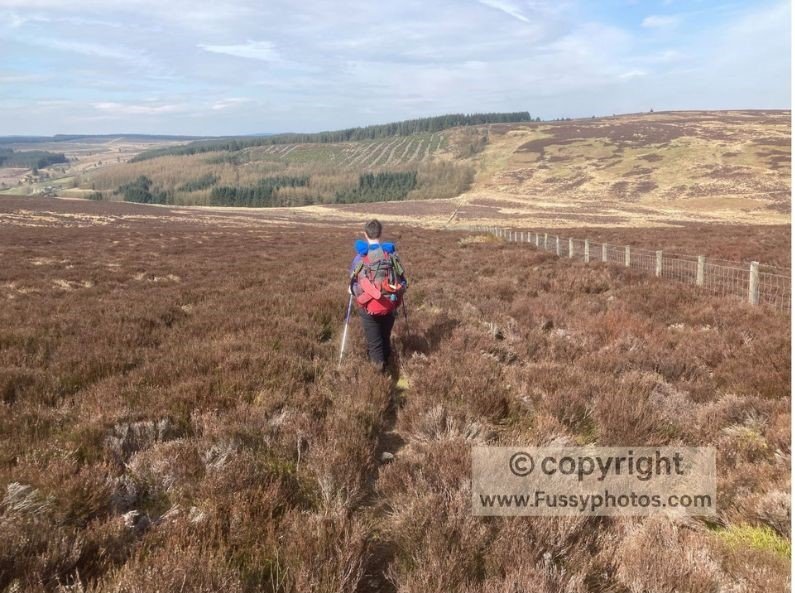
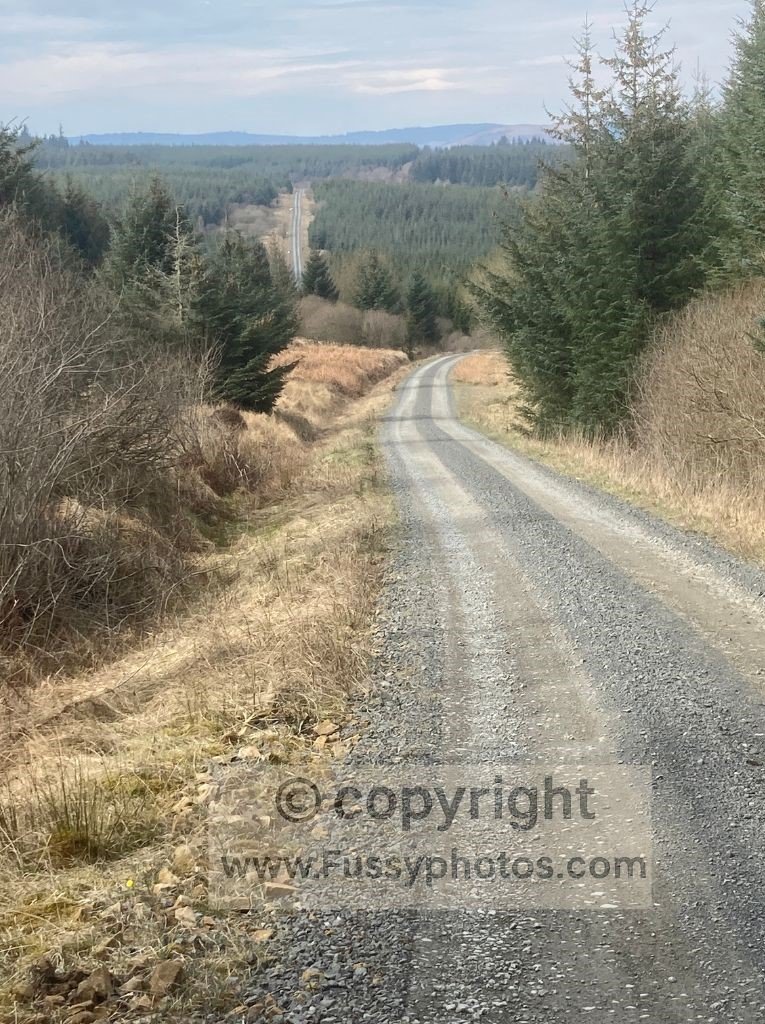
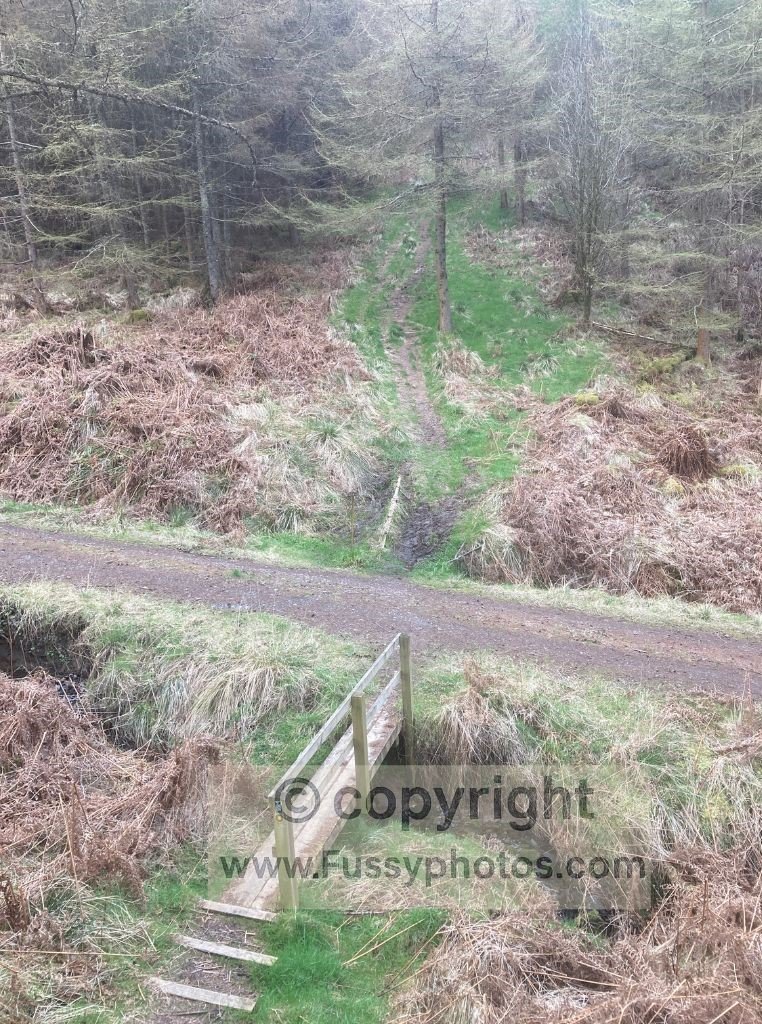
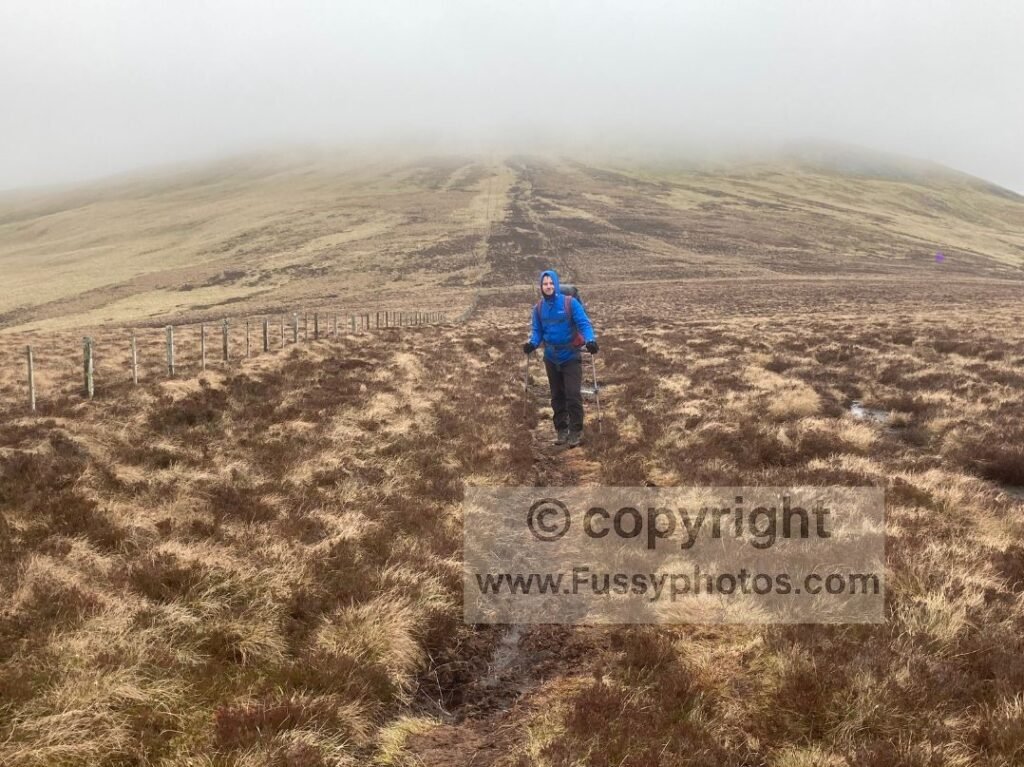
7. Hareshaw Common → Byrness
This section is not difficult because of the ascent. Instead, the challenge comes from the monotony of the route following the boggy moorland of Hareshaw Common. Padon Hill is a relatively featureless climb through extensive heather, followed by around six miles of conifer plantation on gravel tracks. These tracks are used by forestry vehicles, and it is common to step aside for passing lorries transporting timber — a humbling reminder that even the trees are making faster progress than you are. After a 15‑mile day, this long, uniform stretch becomes a psychological test as much as a physical one.
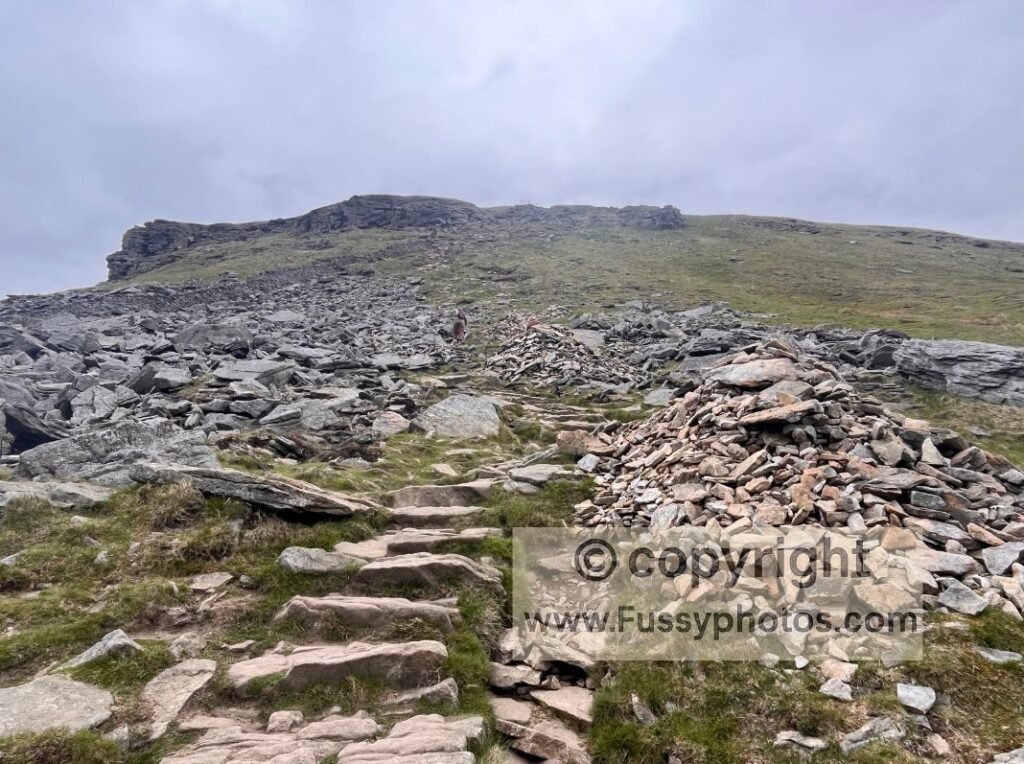
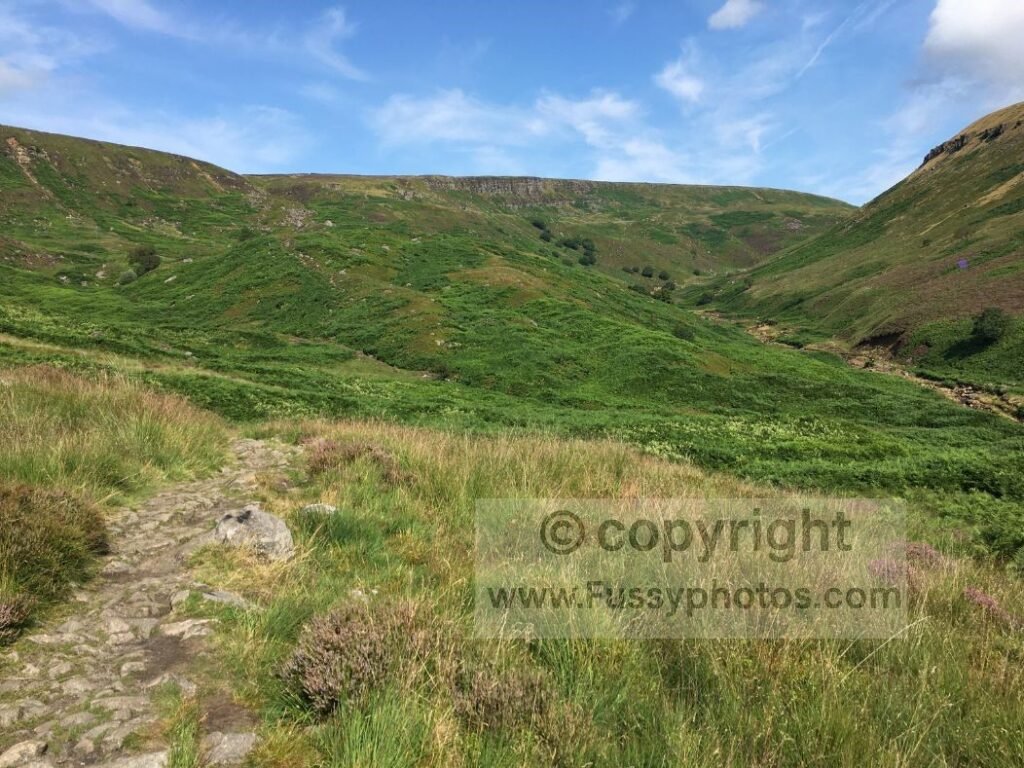
6. Crowden → Laddow Rocks
This is another demanding section along a well‑marked trail, with scenery that improves steadily as you ascend. After a tough 16‑mile first day on the Pennine Way, you will likely begin Day 2 already feeling the effects.
The trail is good and the views improve with every step, but you will still take around an hour to cover the two miles to Laddow Rocks. Once you have caught your breath, the climb continues towards Black Hill (582m).
This is also one of the few sections that appears in both my Top 10 Hardest Parts and Top 10 Highlights, combining physical effort with increasingly impressive scenery.
A beautiful section — but a tough one.

5. Northern Climb out of Byrness
Shorter than Laddow Rocks, but steeper. Much steeper.
We climbed this in search of a wild camp over the border, and the map confirmed what my legs already knew: around 200m of ascent in half a mile.
The views don’t arrive until the top, where Catcleugh Reservoir finally appears. Until then, it’s just trees, gradient, and and the steady realisation that half a mile can feel much longer.
We were lucky enough to catch a beautiful sunset over the reservoir — the photo’s in my Top 10 Sunset Photos of the Pennine Way.

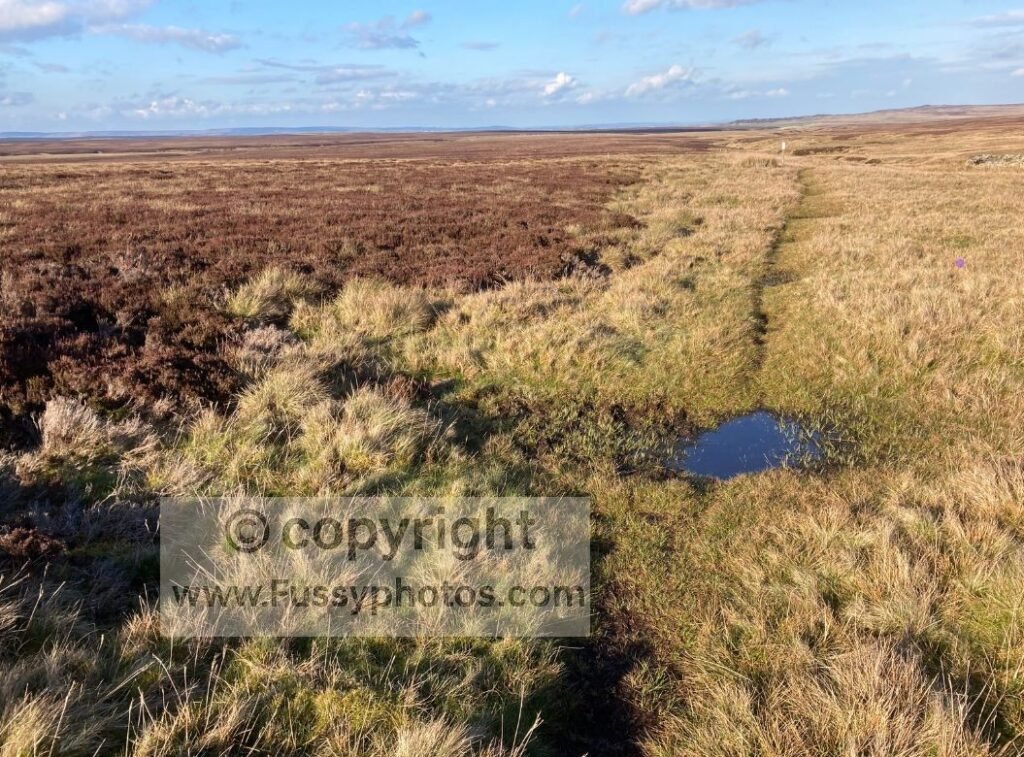
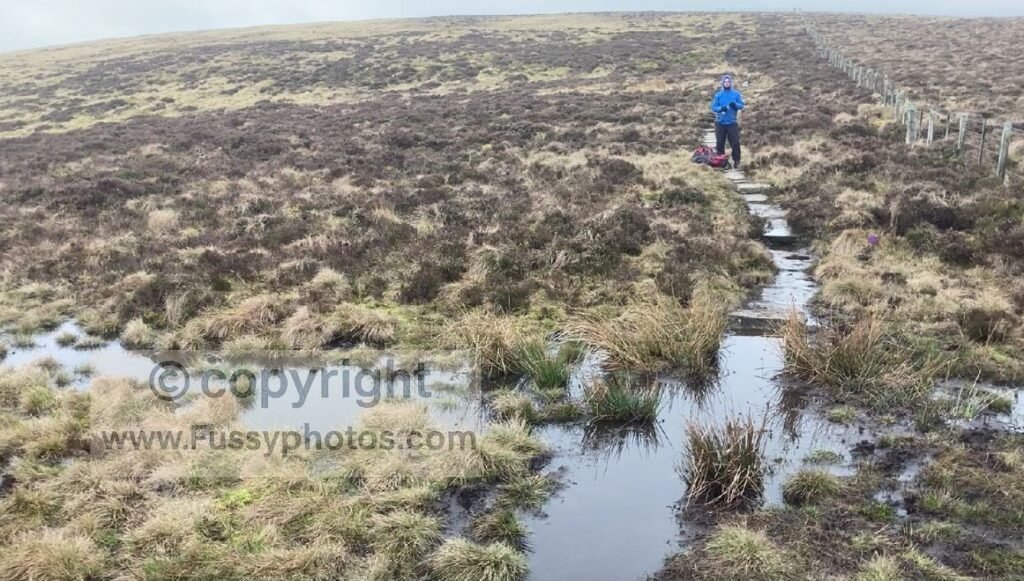
4. Sleightholme Moor
A surprise top‑five entry — unless you’ve walked it.
The terrain is flat, which is precisely the problem: the water has nowhere to go. I have almost no photos or video footage because I was too busy concentrating on where to step after my leg disappeared knee‑deep into something that looked suspiciously like quicksand.
If you follow the standard 16‑day itinerary, you hit this at the start of Day 9. We hit it at the end of a 25‑mile day from Hardraw, which was… bold. If you want the full context of that long push, it’s described in my Dales section trip report.
The warning signs appear the moment you leave the road near Tan Hill Inn. We briefly considered turning back to the tarmac. You might too.
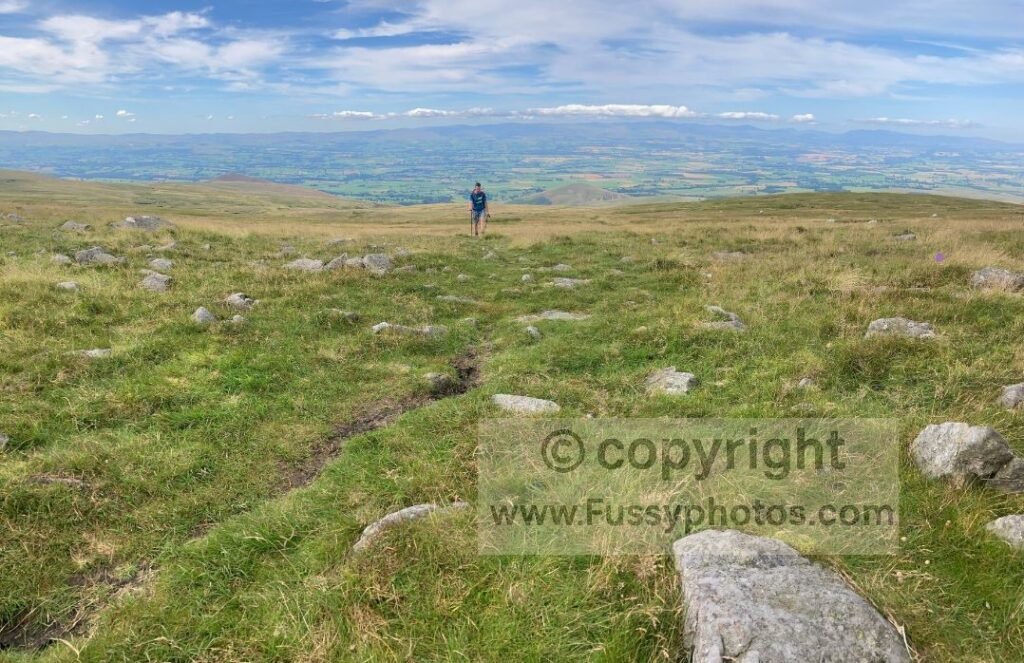
3. Cross Fell & The Corpse Road to Garrigill
Cross Fell is notorious, and the long descent to Garrigill down the endless Corpse Road miners’ track is almost as well known — but at least navigation is simple.
Walking the trail in stages, this was only my second day back on the Pennine Way, and I felt fitter than ever. A summer heatwave helped, and I made quick work of the 1,000m of elevation, enjoying the increasingly impressive views west towards the Lake District. The ground was still wet enough that I’d packed a pair of wellies — Sleightholme Moor had quietly rewritten my definition of “summer conditions.”
The bogs were still around but manageable, and we seemed to get off lightly. The descent was worse. The 6.5‑mile stretch from Cross Fell to the road at Garrigill felt like one of those cartoons where the character keeps passing the same point again and again.
It doesn’t make the top two, largely thanks to the early views west and a very lucky weather window.
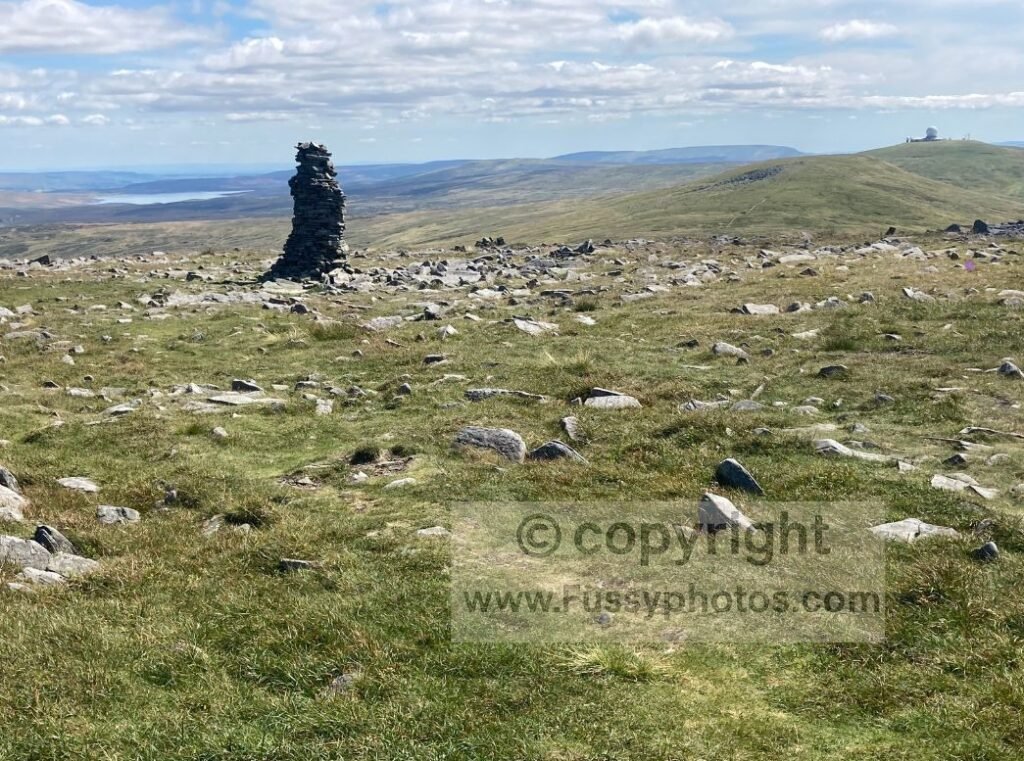

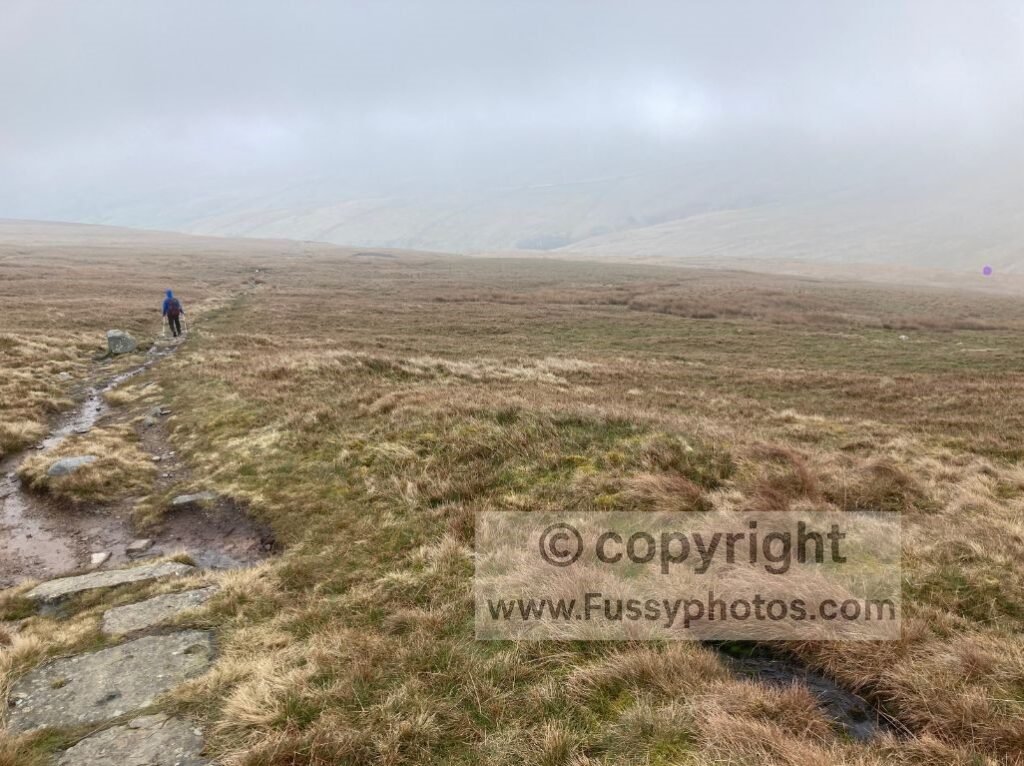
2. Great Shunner Fell
At 716m, it’s not as high as Cross Fell, not as steep as Great Dun Fell, but somehow more soul‑sapping.
On my thru‑walk, visibility dropped to the length of my arm. Navigation was simple — just keep going up — but the bog hopping was endless. On my first visit, I spent miles trying to keep my feet dry. Futile.
I returned in better weather to see the views I’d missed. They were… fine. Mostly upland moorland. The stone slabs were worse: mile after mile of foot‑battering monotony.
The final approach to Thwaite improves, but by then you’re more interested in getting into Swaledale than admiring it from a safe distance.
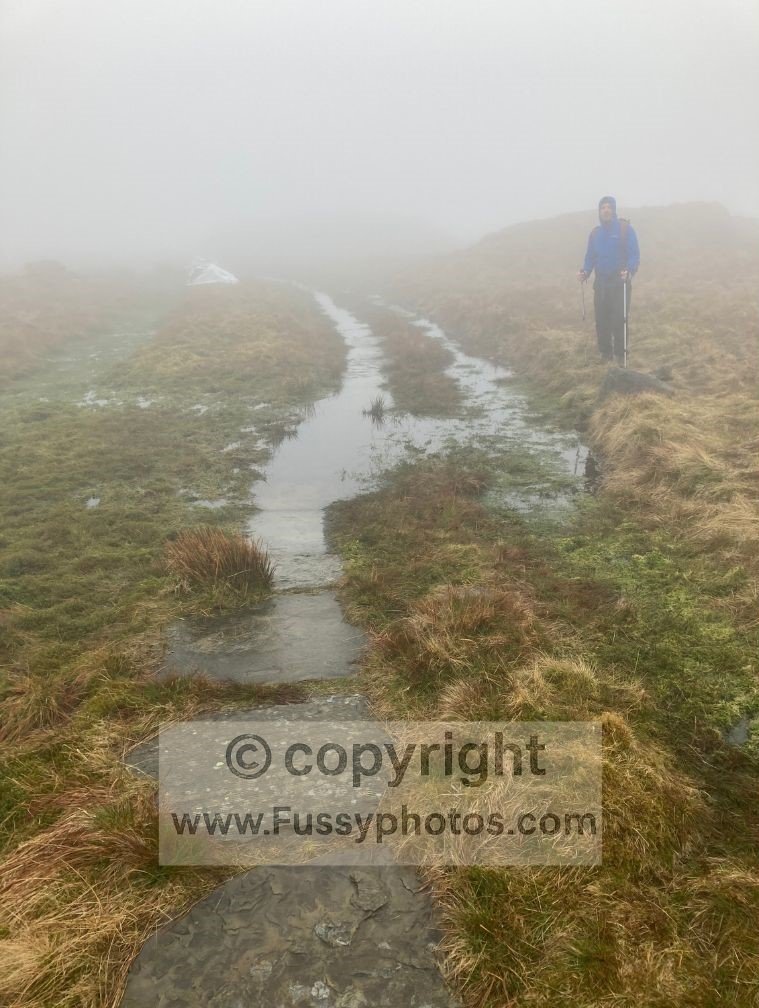

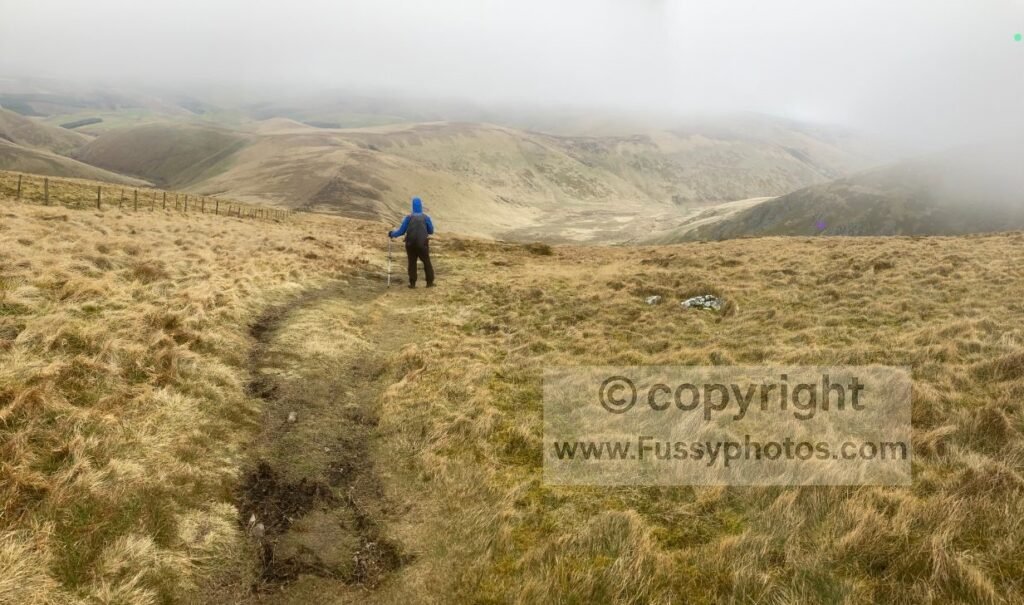
1. King’s Seat → The Schil
The final day of the Pennine Way is glorious — in good weather. In bad weather, it’s a character test.
Logistically, it’s brutal: no settlements between Byrness and Kirk Yetholm, and not much in Byrness either. Like many, we combined Days 15 & 16 into a 27‑mile finale. That may have influenced the ranking. Slightly.
Low cloud removed all views above 600m. Rain soaked everything. The bogs below The Schil were behaving like they’d been briefed about my arrival. The optional detour to The Cheviot adds another 72m of ascent — see Is the Cheviot Summit Detour Worth It?
Even the descent from Auchope Cairn to the Mountain Rescue Hut — normally a highlight — was a slip‑and‑slide affair. I fell twice. Gracefully, of course.
The weather will make or break this day. If you can, time it for a dry spell and bring your best winter boots, even if there’s a hosepipe ban.
For the same landscape in sunshine — and a reminder that it’s not always bog and misery — see my Top 10 Highlights of the Pennine Way.
Pennine Way Hardest Sections: Video Breakdown
A quick dive into the Pennine Way’s hardest moments — the brutal climbs, exposed moors, and morale‑testing miles that define the trail.

More Pennine Way Guides
For a look at the Pennine Way at its most spectacular — the perfect contrast to these tougher miles — see my Top 10 Highlights of the Pennine Way.
Explore the full Pennine Way guide for clear planning advice, stage breakdowns, difficulty insights, and everything you need for the trail.