Swaledale, North Yorkshire
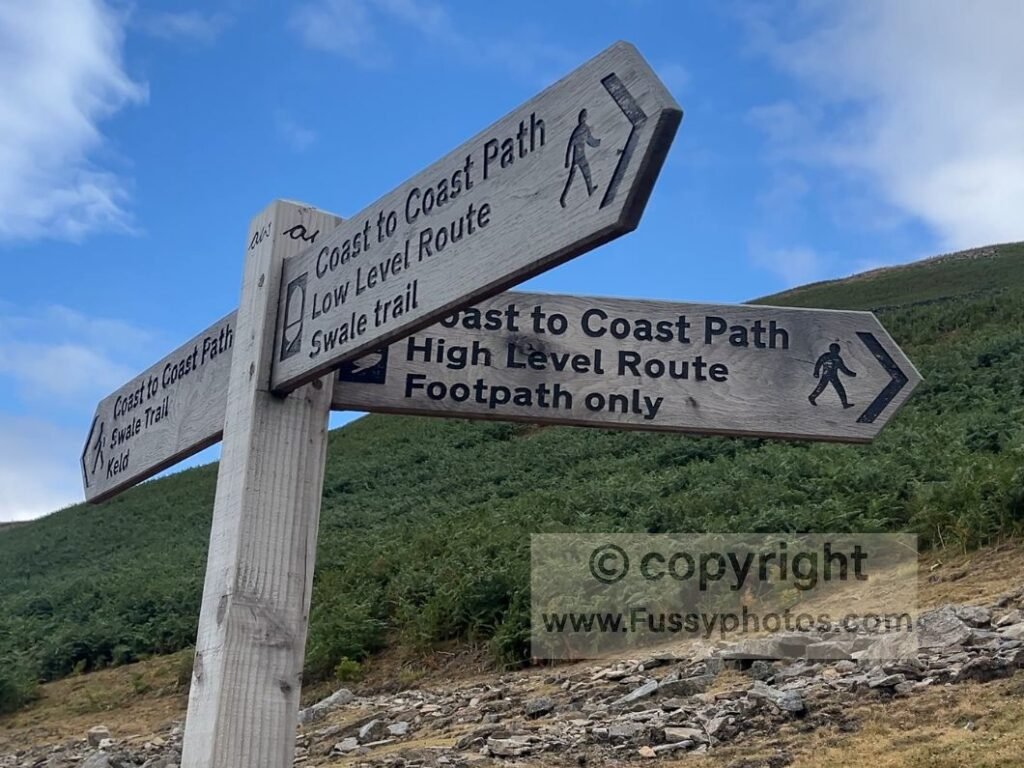
The Coast to Coast features a handful of alternative routes, mainly to offer safer options in poor weather, reduce erosion in sensitive peat areas, and provide detours to nearby viewpoints not on the traditional line. The most significant of these sits just east of Keld, where walkers must choose between the high‑level moorland route and the low‑level River Swale route.
It’s a surprisingly tricky decision for first‑time C2C walkers. Both alternatives are beautiful and rewarding. Some people genuinely toss a coin. Others don’t realise a major route choice is coming and make a gut decision at the diversion sign.
Coming just 1.5–2 days after finishing the Lake District, it’s understandable to assume “high‑level” means “far harder.” From the junction, the low‑level route visibly drops to river level, following the meandering Swale through idyllic scenery. The high‑level route goes straight up. Psychologically, tired legs often favour the path down.
It’s a significant choice: on an 11‑mile stage, the routes diverge and don’t rejoin until Reeth, 10 miles to the east.
Where the Coast to Coast Splits: A Stunning Choice Between Moorland Heights and Swaledale’s Valley Floor
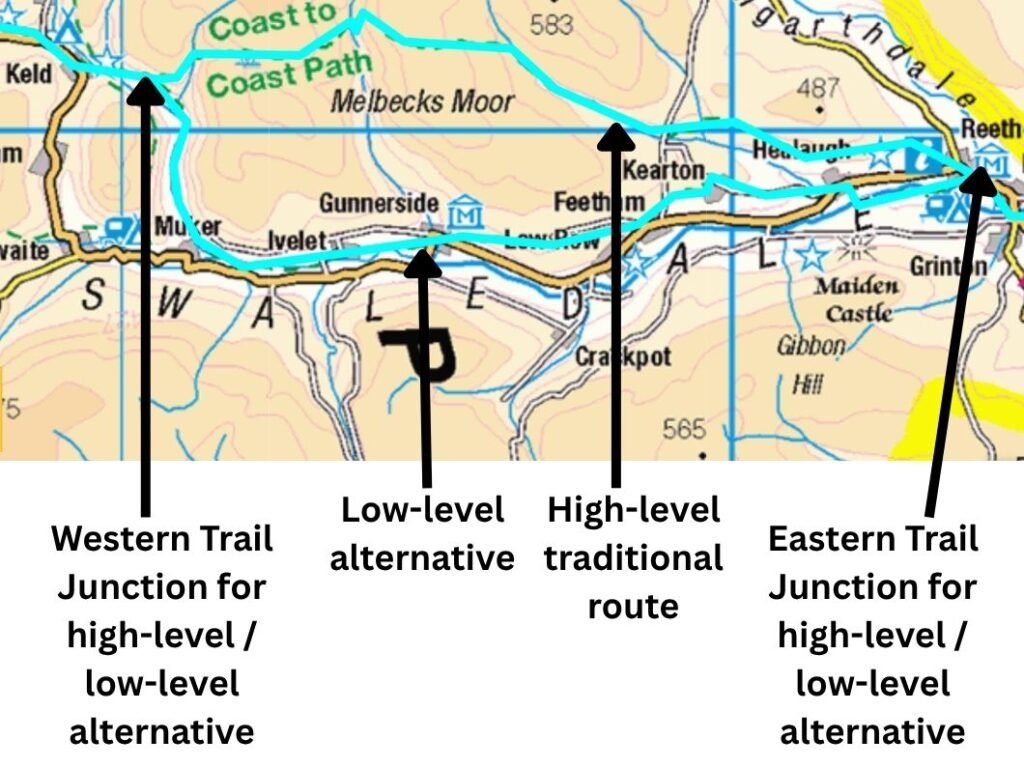
Below is a clear, structured comparison to help you choose confidently.
High‑Level vs Low‑Level: Quick Comparison
| Category | High‑Level Route (Traditional) | Low‑Level Route (River Swale) |
|---|---|---|
| Terrain Feel | Wild moorland, deep gills, remote mining valleys | Riverside meadows, farmland, gentle valley walking |
| Difficulty | More strenuous; two steep gill ascents | Easier; mostly gentle gradients |
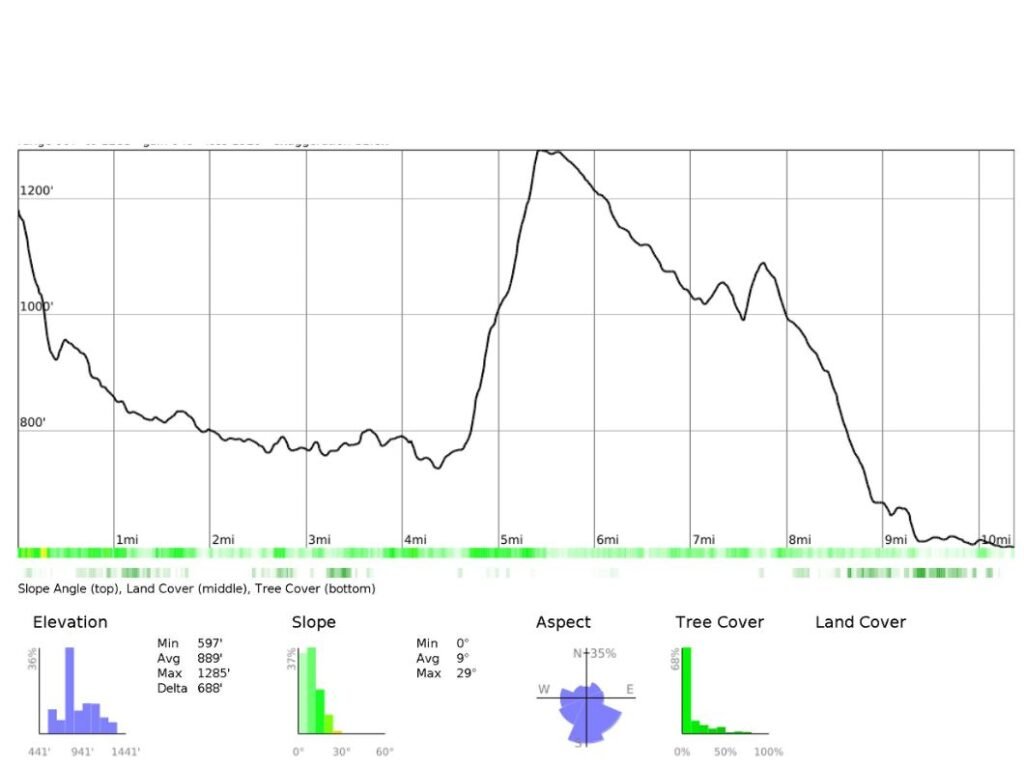
| Elevation Gain | 466m | 300m |
| Elevation Loss | 623m | 470m |
| Distance | 10 miles | 10.5 miles |
| Key Landmarks | Swinner Gill, Gunnerside Gill, Blakethwaite Mine, Old Gang Mines, Surrender Bridge | River Swale, Ivelet Bridge, Gunnerside village, valley ridge views |
| Atmosphere | Remote, rugged, historic, dramatic | Serene, pastoral, varied, classic Swaledale |
| Navigation | Straightforward west→east; trickier east→west | Very easy; well‑defined paths |
| Amenities | None until Reeth | Pub and facilities in Gunnerside |
| Best For | Walkers wanting drama, history, solitude | Walkers wanting a gentler day and riverside scenery |
| Weather Suitability | Avoid in poor visibility; exposed moorland | Safer in bad weather; sheltered valley |
C2C Keld Route Video: High‑ vs Low‑Level Explained

Which Route Should You Choose?
Choose the High‑Level Route if…
- you want the classic Wainwright experience
- you enjoy remote moorland and dramatic gills
- you’re interested in historic mining landscapes
- you prefer big scenery over gentle valley walking
- you’re walking in good visibility
- you prefer solitude
- you want the most varied of the two options
- you’re happy with two early climbs, after which the route eases
Choose the Low‑Level Route if…
- you want a gentler day after the Lake District
- you prefer riverside walking and pastoral scenery
- you’re walking in poor weather
- you want the most popular and sociable option
- you want a pub stop in Gunnerside
- you enjoy flat meadows and wide floodplains
- you want a route that’s easy to navigate
High‑Level Route Description (Traditional Wainwright Route)
Swinner Gill → Gunnerside Gill → Old Gang Mines → Reeth
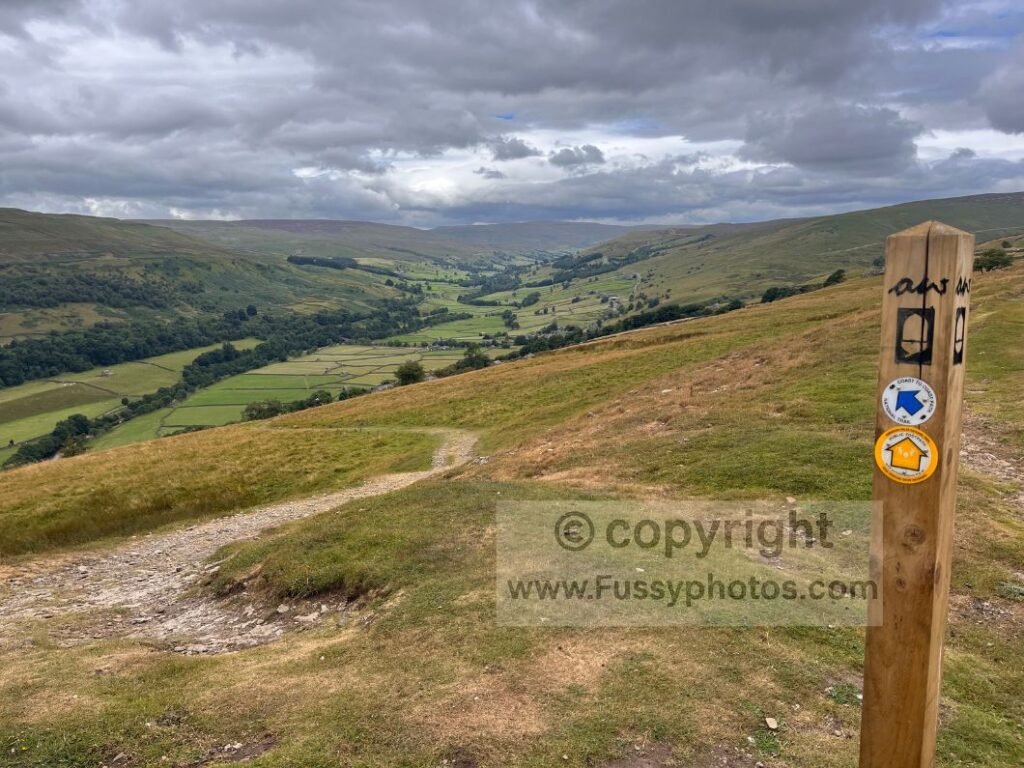
The traditional high‑level route leaves the junction and climbs immediately onto open moorland. A superb bird’s‑eye view of the River Swale appears first — a wide, sweeping panorama of the valley.
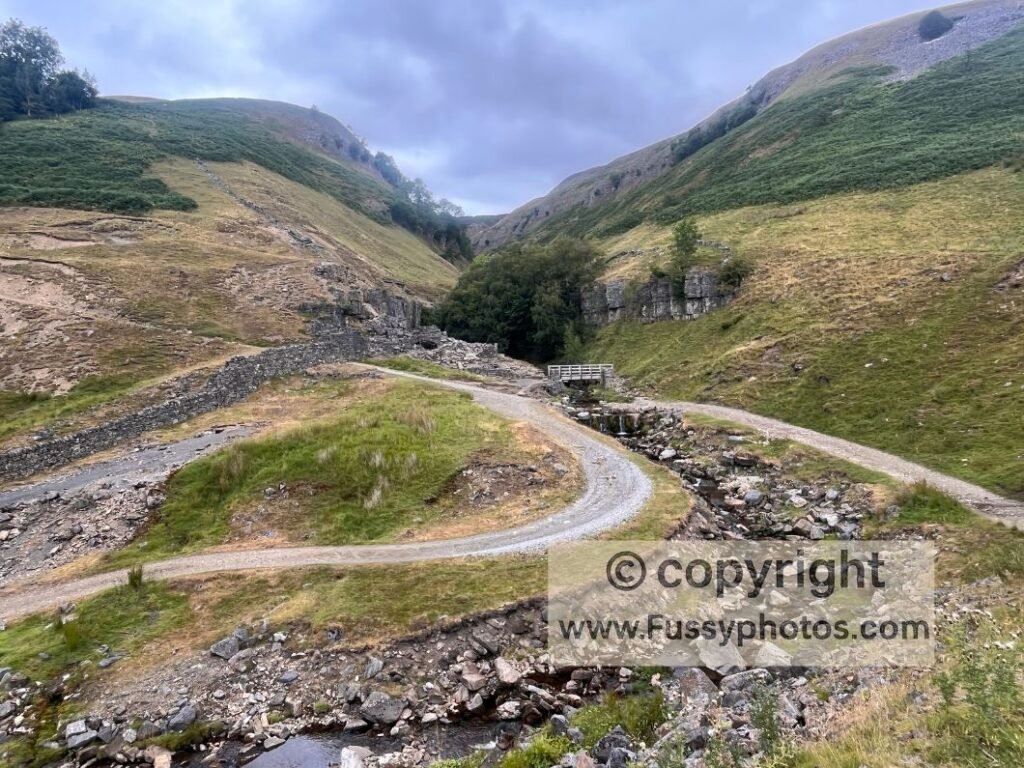
Soon the trail reaches Swinner Gill, a deep incision carved by a tributary of the Swale. Old mine buildings cling to the valley sides, and a narrow path threads tightly along the edge. In late summer, purple heather colours the slopes and water rushes down a small waterfall, adding sound and movement to the scene.
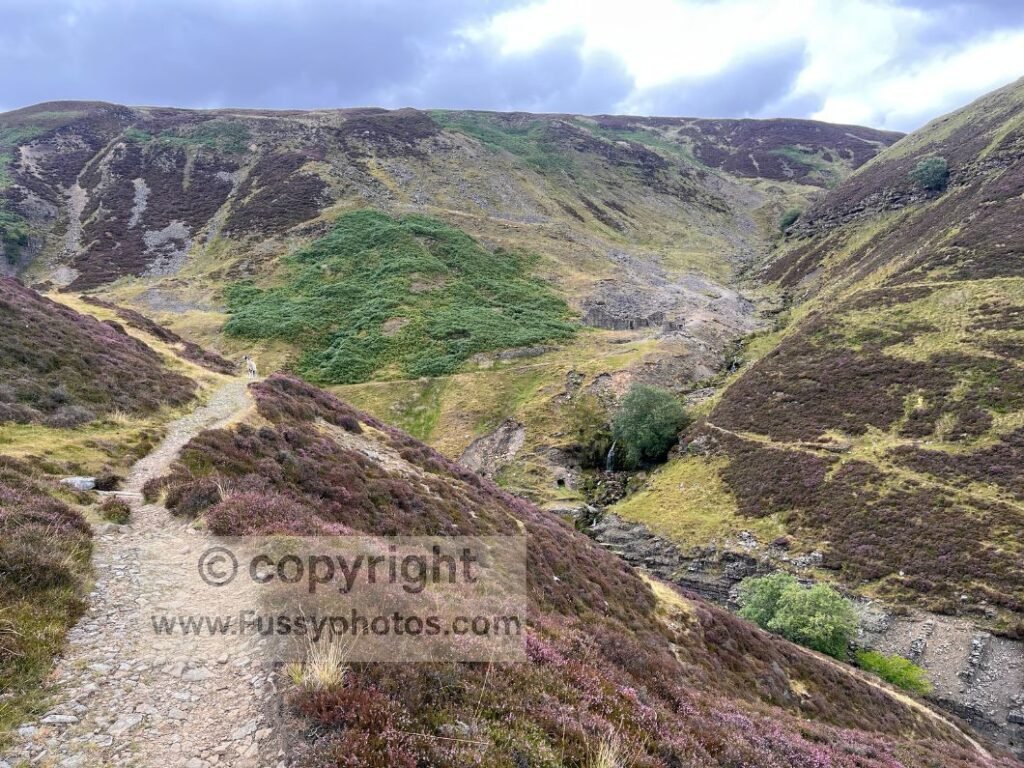
The trail circles around the watercourse before passing directly beside the old mine buildings, then climbs again past another small falls and a trail sign perched close to the gill edge — a beautiful stretch. At the top, the landscape opens into more uniform moorland, following a gravel farm track.
Only a mile separates the ascent out of Swinner Gill from the descent into Gunnerside Gill, where another set of stone buildings sits to the right before the valley suddenly drops away. This second gill is larger, more dramatic, and has a remote feel. The C2C path is visible on the eastern side, switching back on itself as it ascends.
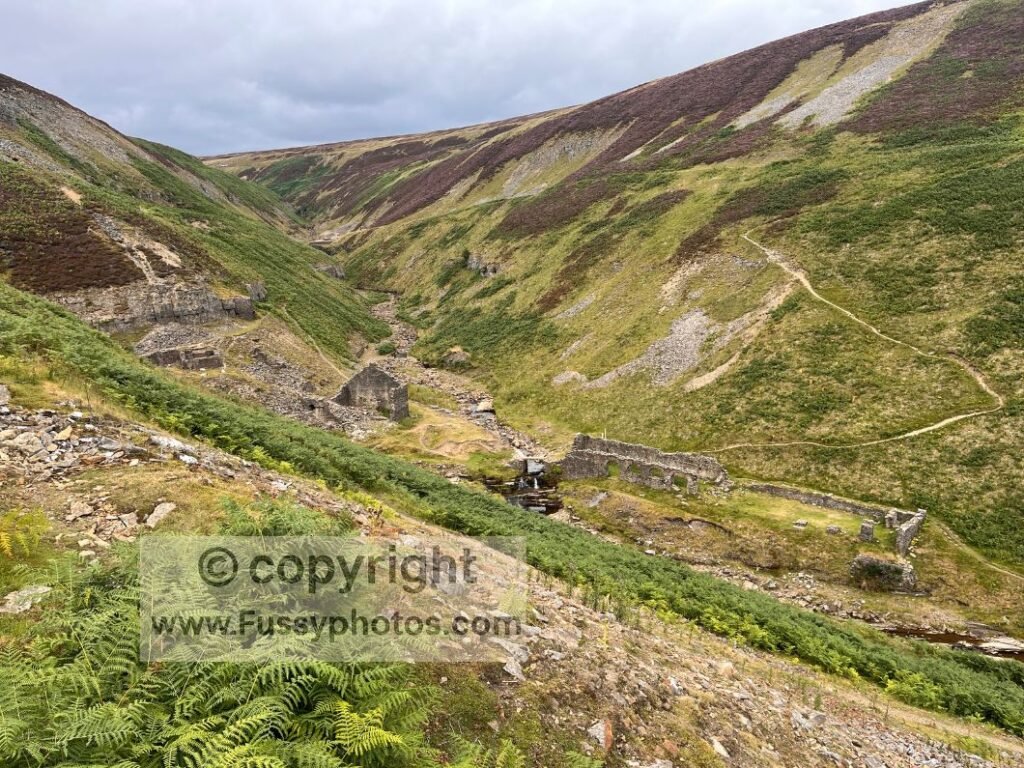
The trail drops 120m through bracken and heather to Blakethwaite Mine and Smelt Mill, a perfect rest spot to absorb the scenery and history before tackling the steep ascent out of the gill.
Once the climb is over, the gradient eases towards Old Gang Mines, then begins a long 7‑mile descent into Reeth. Navigation west→east is straightforward, but east→west walkers must take care: several trails diverge from the C2C near Gunnerside Gill, and with limited signage over the previous miles it’s easy to assume there’s none at all and accidentally enter the wrong side of the gill.
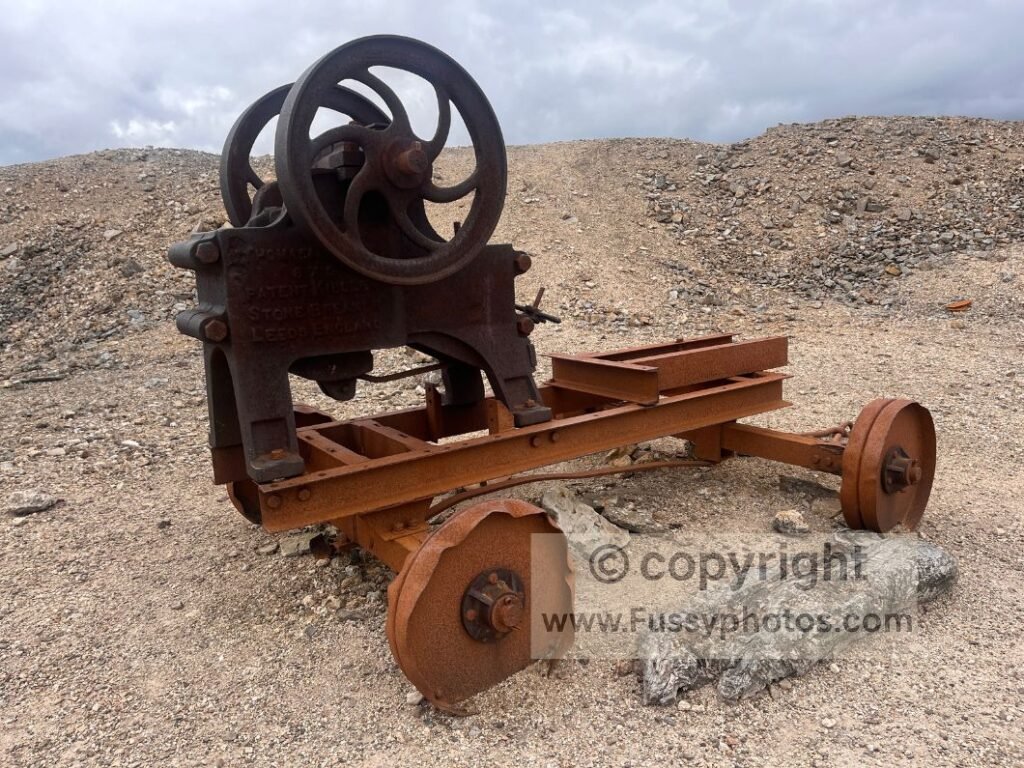
Further east, the valley opens into classic wide Swaledale views before finally reaching Reeth.
For a full write‑up of this stage — including my thru‑walk on the High‑Level Route from Richmond through Reeth to Keld — see my Day 5 report: Richmond – Reeth – Keld.
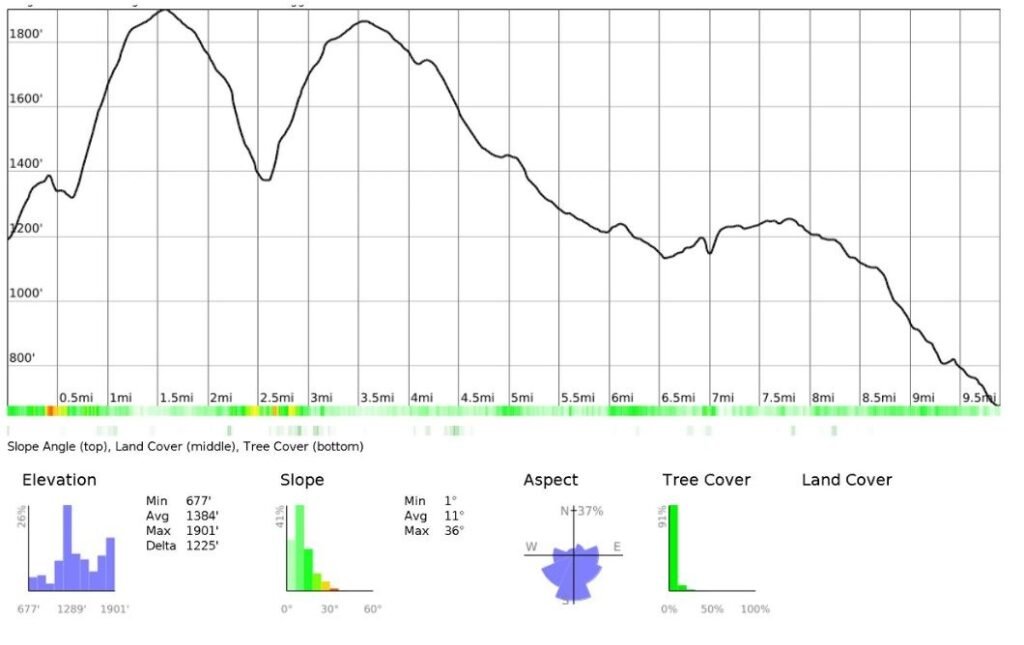
High‑Level Stats
- Distance: 10 miles
- Elevation Gain: 466m
- Elevation Loss: 623m
Low‑Level Route Description (River Swale Alternative)
Swinner Gill Bridge → River Swale → Ivelet Bridge → Gunnerside → Reeth
From the junction, the low‑level alternative descends over an attractive wooden bridge beside a small waterfall as Swinner Gill meets the River Swale. The trail drops gently to the valley floor, settling into serene riverside walking between two high valley sides.
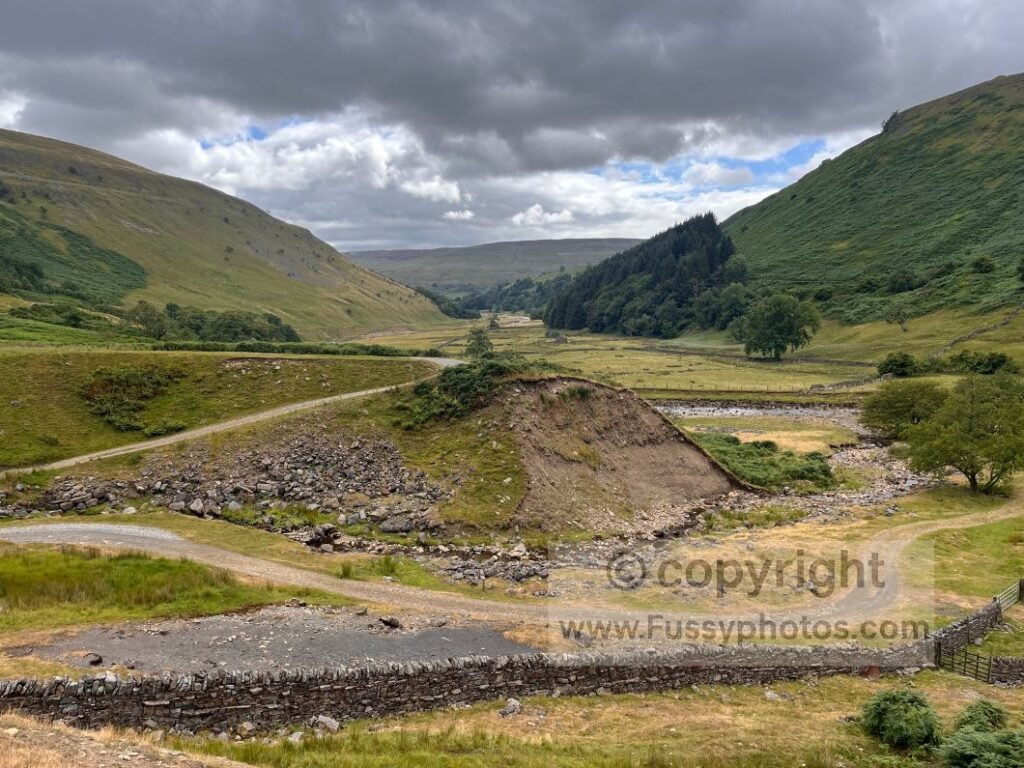
This first stretch is the highlight of the low route — an instant reward for choosing the gentler option. The C2C and river pivot east into Swaledale, crossing flat farmland and wide floodplains with the river constantly close. It’s an excellent stretch of riverside walking all the way to Ivelet Bridge, a stone arch partly hidden behind mature trees.
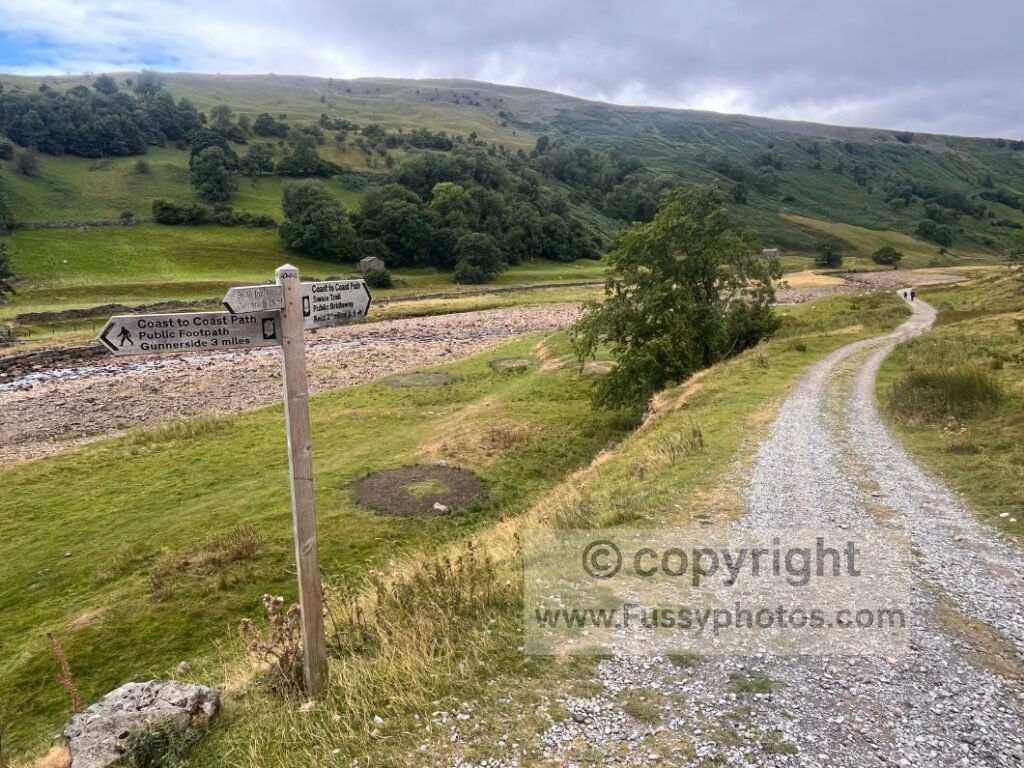
The walk remains varied: enclosed lanes, wide fields, dry‑stone walls and easy valley paths lead to Gunnerside village, where the river views fall away behind vegetation as the C2C diverges up the valley. Gunnerside has a pub — a stark contrast to the independence required on the high‑level route.
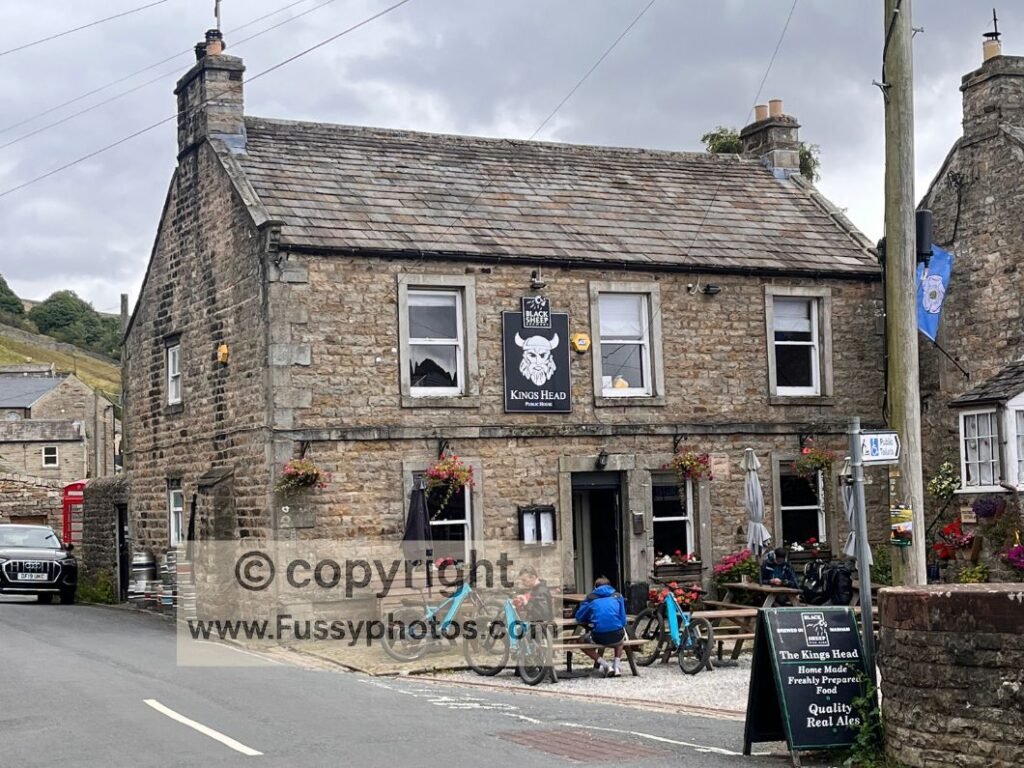
East of Gunnerside, the trail climbs gently to a ridge running parallel to the river, around 40–50m higher, offering excellent views back west. From here the scenery softens: dry‑stone walls, farm tracks and wide open spaces guide you into Reeth.
For a wider look at why both the River Swale on the low‑level route and the mines and gills of Swinner Gill and Gunnerside Gill made my Top 10 Highlights of the Coast to Coast (Ranked), see the full list.
Low‑Level Stats
- Distance: 10.5 miles
- Elevation Gain: 300m
- Elevation Loss: 470m
FAQs
Is the high‑level route harder?
Yes, but not substantially harder. The most meaningful effort comes in the first 2–3 miles, and west→east walkers tackle this while still fresh. After the initial climb, the route settles into steady moorland walking with one short gill ascent that feel more like scenic interruption than a major obstacle.
Is the low‑level route better in bad weather?
Absolutely. The valley is sheltered and safer in poor visibility.
Which route has better views?
The high‑level route is more dramatic; the low‑level route is more serene.
Which route is more popular?
The low‑level route is far more popular. On busy C2C days you’ll see a steady, slow stream of walkers following the River Swale, especially between Keld, Muker, Ivelet Bridge and Gunnerside. By contrast, the high‑level route can feel almost deserted — west of Surrender Bridge I saw one person across the final 6 miles.
Can you switch routes halfway?
No — once committed, the two routes remain separate until Reeth.
For a wider look at shaping your whole walk around your own time, fitness and style, see Coast to Coast: How to Plan Your Best Walk.
Plan Your Coast to Coast Walk
If you’re shaping your own itinerary — whether a thru‑walk or a flexible section walk — the hub page gathers every planning guide, highlight list and stage report.