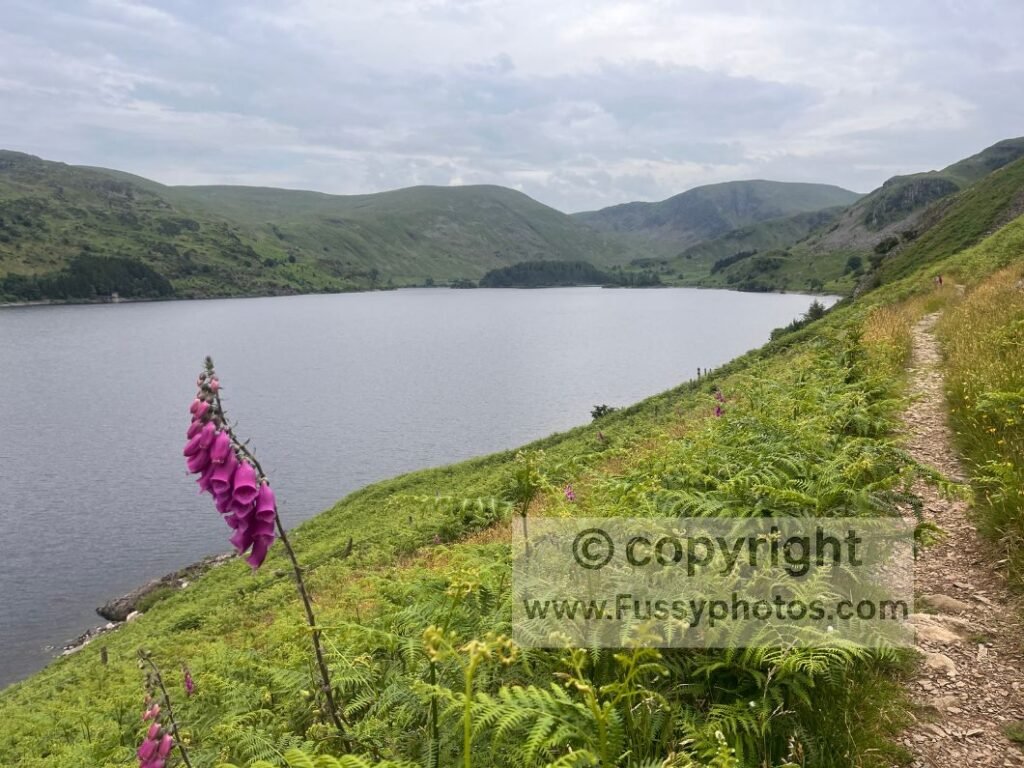
Overview of Day 7
A huge, heat‑stricken 22.8‑mile push from Sunbiggin Farm to Angle Tarn, taking in farmland, bog, brutal Lake District ascents and slow miles around Haweswater, with swollen‑foot management, tricky route‑finding, spectacular ridgelines and a hard‑won finish.
OS Map Extract: Sunbiggin Farm to Angle Tarn
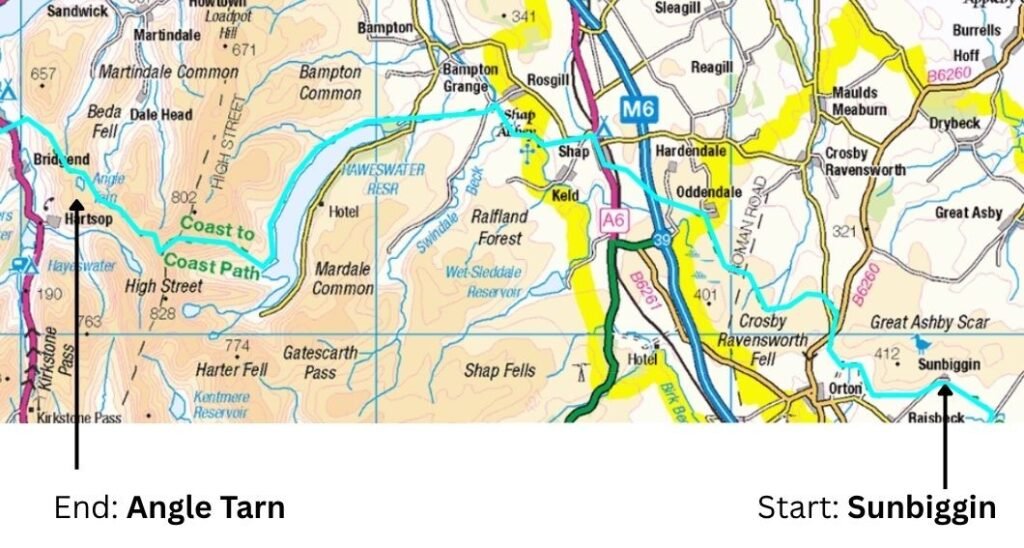
If you’d like to explore the official route in more detail, you can view the interactive National Trails map here
Coast to Coast (Reverse) — Stage Index
This guide is part of my reverse Coast to Coast series — you can follow every stage using the index below.
- Day 1: Robin Hood’s Bay → Egton Bridge
- Day 2: Egton Bridge → Charlton Bank
- Day 3: Charlton Bank – Danby Wiske
- Day 4: Danby Wiske – Richmond
- Day 5: Richmond – Reeth – Keld
- Day 6: Keld – Sunbiggin
- Day 8: Angle Tarn to Rosthwaite
- Day 9: Rosthwaite to Ennerdale Bridge
Key Facts: Day 7 — Shap to Angle Tarn
- Distance: 22.8 miles
- Elevation gain: 1,270m
- Start: Sunbiggin Farm → Shap
- Finish: Angle Tarn
- Terrain: Farmland, moorland, reservoir edge, steep mountain ascents
- Highlights: Shap Abbey, Haweswater, Kidsty Pike, Angle Tarn
- Challenges: Heat, foot pain, boggy ground, tricky route‑finding, brutal climbs
- Wild camp: Eastern shore of Angle Tarn
Coast to Coast Day 7 Video: Sunbiggin to Angle Tarn Camp

Leaving Sunbiggin Farm: A Big Ask Ahead
Having stayed on the trail past Kirkby Stephen, I was about 90% certain I’d complete the Coast to Coast in the next three days. Considering I hadn’t even reached the Lake District yet—and my swollen feet were already causing trouble—this was a big ask.
I’d checked contingency plans: Penrith had a train station, and buses ran from Patterdale and Grasmere. Useful options, but I was determined not to need them. If you’re weighing up your own escape routes or planning how to reach or leave each stage, see Coast to Coast Transport: How to Reach Every Stage.
With the diversion at St Bees—introduced after landslips damaged the clifftop path between South Head and Saltom Bay—the official Coast to Coast route now cuts inland just west of Cleator, shaving 3–4 miles off the total distance. I therefore had roughly 63 miles left to walk: three more 21‑mile days. The terrain ahead would be far more mountainous, but my legs still felt great. It was my feet I had to manage.
Foot Management on the Coast to Coast Trail
Before leaving Sunbiggin Farm, I knew I was capable of pushing a big day. I’d already completed 57‑miles days over 3 days, and my legs felt strong. The only real issue was my feet, which were swelling in the heat and threatening to derail the next section.
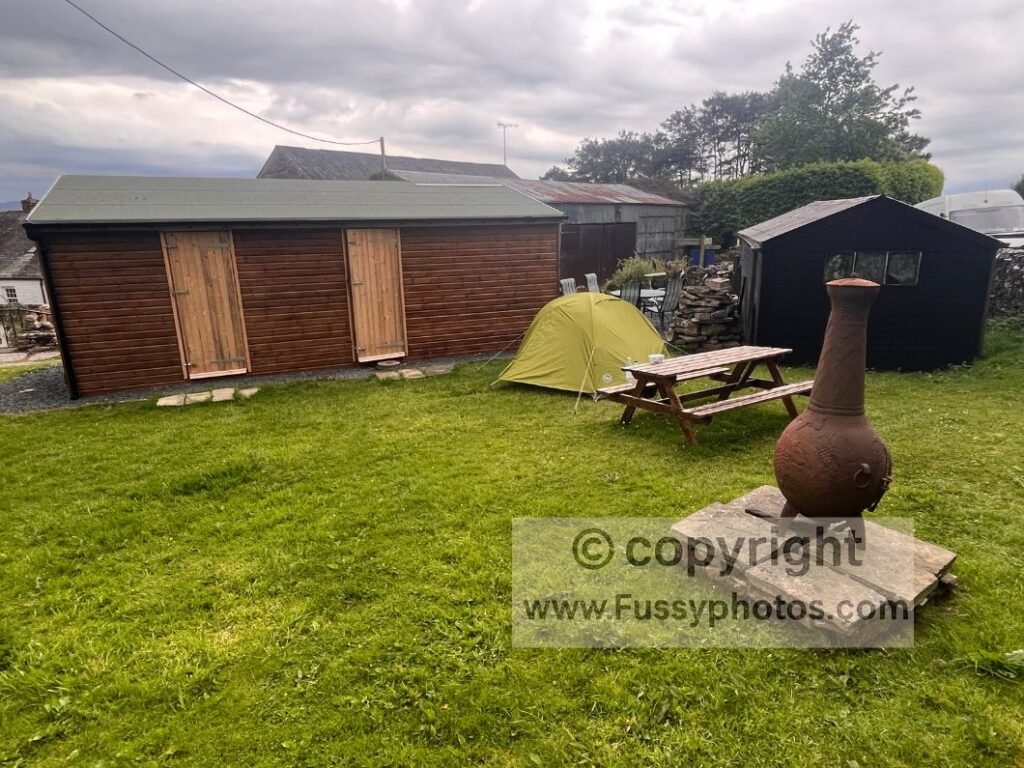
Andrew, the owner of Sunbiggin Farm, proved a useful sounding board. He confirmed that a 25‑mile day to Patterdale would be a big push even for the fittest walkers, but that Angle Tarn was achievable and a good wild‑camp spot.
“How fit are you?” he asked. “Well, I’ve done two 21‑mile days in the last two days and I walk all-year round,” I said. “It’s just my feet but I never usually get blisters.”
He suggested the issue was heat, not mileage. “Take your shoes off. Your feet are overheating.”
It made perfect sense. I’d packed thick winter socks thinking they’d prevent blisters, when in reality they were cooking my feet. From then on, I resolved to remove shoes and socks at every stop and dip my feet in water whenever possible. It was the only way I’d get through the Lake District section without my feet staging a full rebellion.
He also warned that the elevation gain ahead was so severe that many eastbound walkers reach Shap, look at the profile, and give up. If you’re shaping your own Coast to Coast around pacing, comfort, daily mileage and how to manage tough days like this, you’ll find a full breakdown in How to Plan Your Best Coast to Coast Walk.
East–West Reality: Why This Profile Stops So Many Walkers at Shap
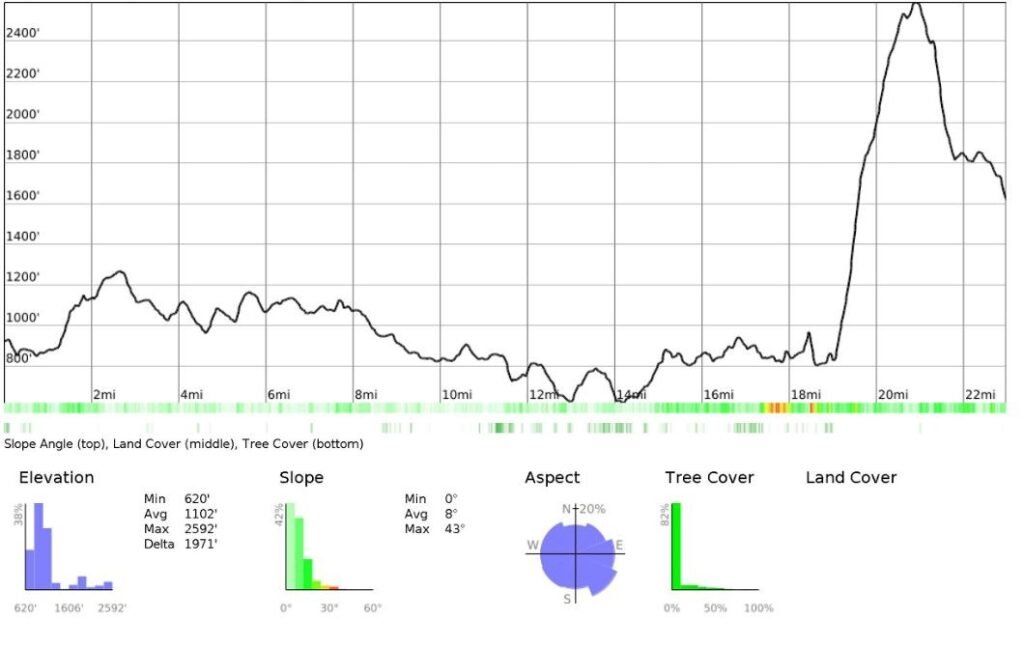
The Stage That Makes Walkers Quit
The elevation profile across the Lake District is notorious. Eastbound walkers climb steeply out of Patterdale, haul themselves over Kidsty Pike, and then drop to the edge of Haweswater—from where many assume the rest is easy.
The long, uneven, boggy miles around Haweswater, followed by the drawn‑out farmland approach to Shap, finish off a lot of thru‑walkers. By the time they reach Shap, they’re exhausted and demoralised.
I was about to tackle that entire section and then add another half‑stage on top of it. My legs were fine. My mindset was solid. The only thing I had to manage was the heat‑induced chaos happening inside my boots.
Early Start and Fast Miles to Shap
As always when camping, I was up early—on the trail by 6:30am. The day began with the alternative route avoiding Orton, though it was signposted enough to make me wonder if Orton is actually part of the main line.
Long grassy fields greeted me, a welcome change from the road walking and rocky surfaces of previous days. Andrew had been right: if I hadn’t stopped at his farm, there’d have been precious little wild‑camping before Shap.
Orton Scar provided the first landmark—a 70‑metre climb to, inevitably, another road. Again, no signage for westbound walkers, but I’d studied the map and took the faint, unsigned trail.
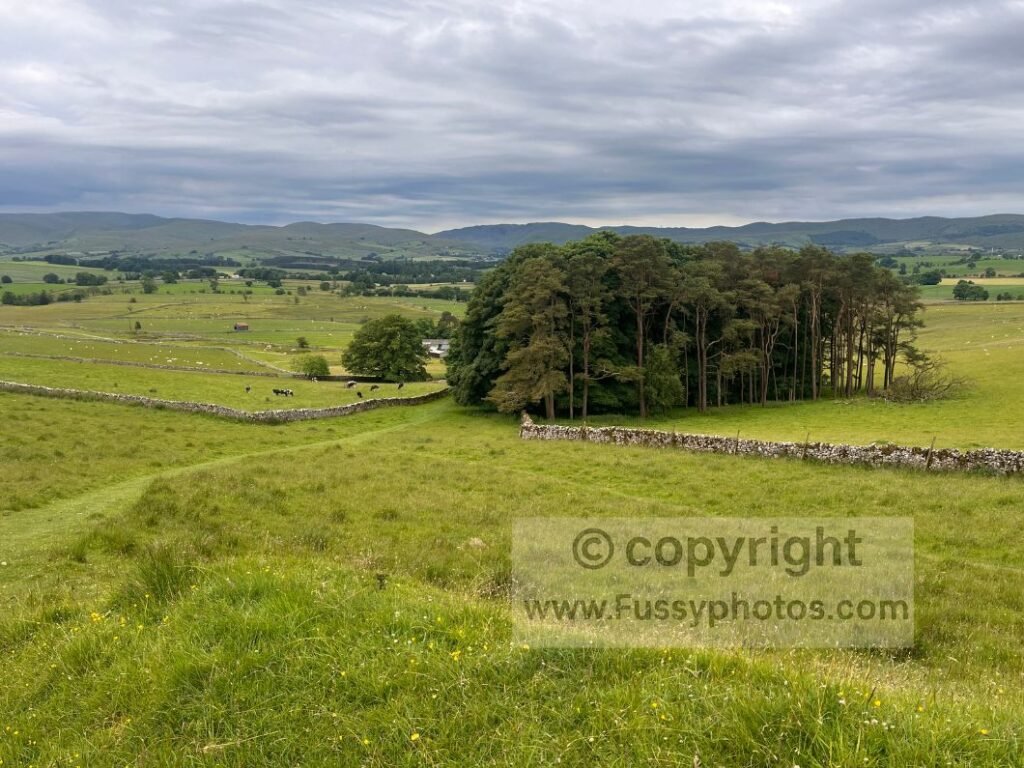
The scenery remained bland and monotonous moorland through Oddendale. The map promised Robin Hood’s Grave, a pile of stones apparently. I missed it, though I doubt it looked much different from the many other piles of stones between here and Robin Hood’s Bay.
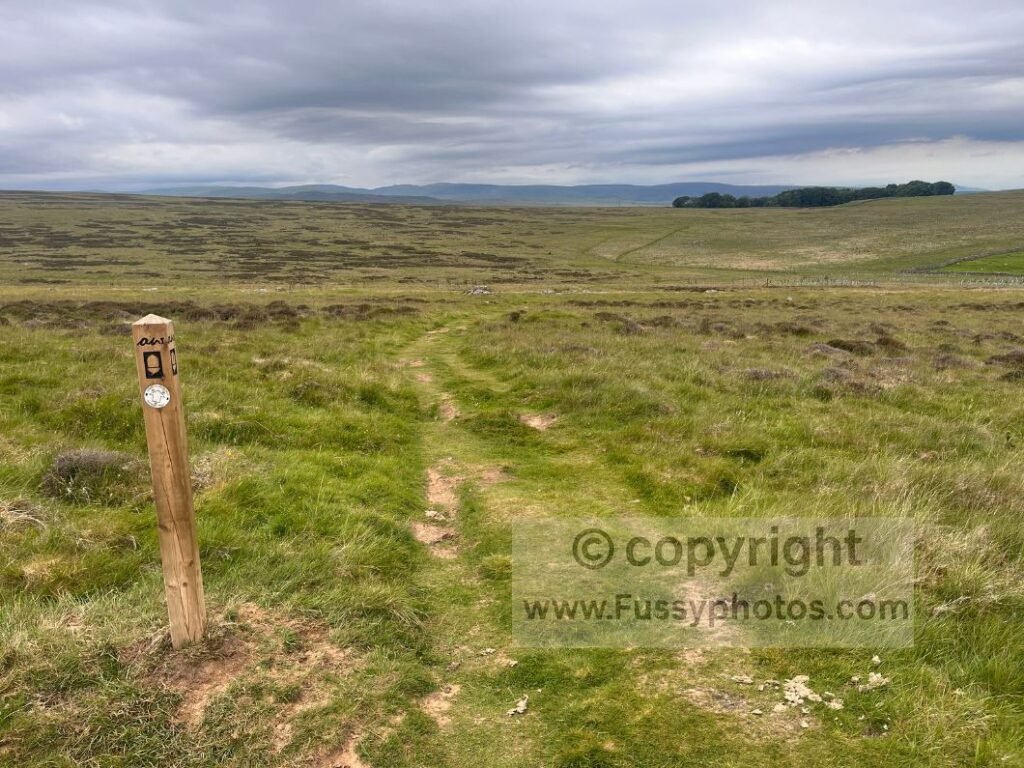
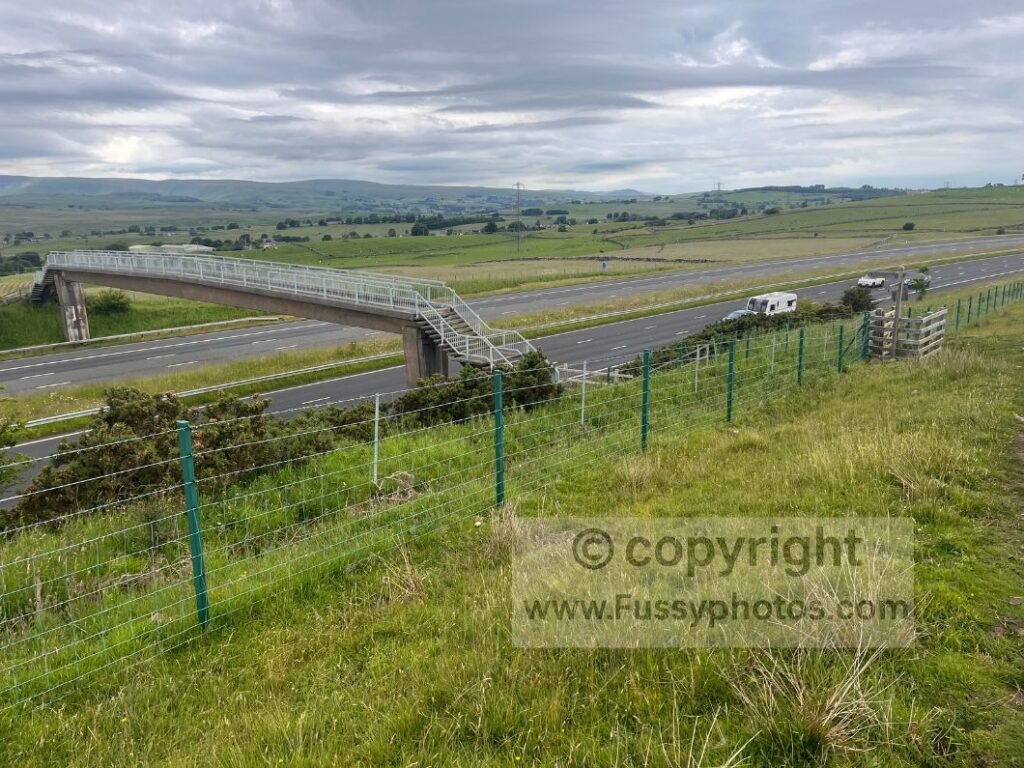
By 9:00am I’d covered 7 miles. Soon after, the distant hum of the M6 appeared—expected, but still a shock after days of seeing no more than two people at a time. By 9:30am I was passing a slow stream of Coast to Coast walkers heading out of Shap, and by 10:20am I was crossing the M6 — a sudden return to civilisation after days where sheep had the numbers, the attitude, and frankly the better organisation.
Shap: The Land Time Forgot
I reached Shap in under four hours, well in time for lunch. I’d asked a local if the pub was open — it wasn’t. They pointed me towards the fish and chip shop — also shut. By the time I reached the Co‑op, it became clear that this was my only option and even they had given up on serving hot food.
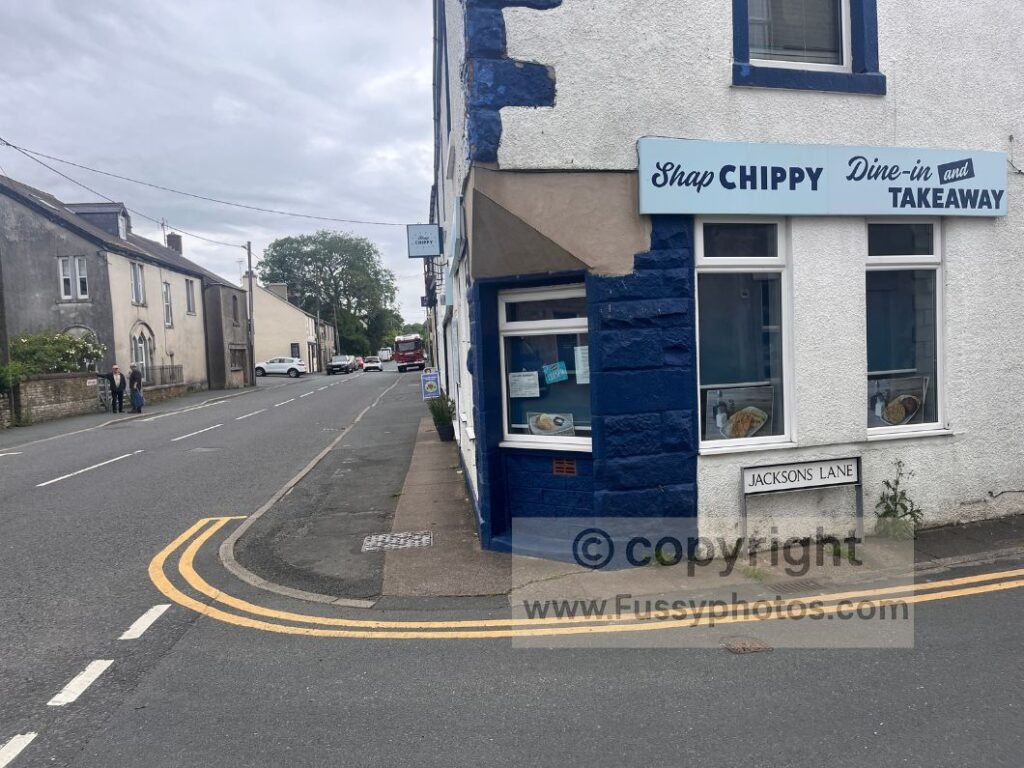
When I later bumped into the same local inside the Co‑op, they summed it up perfectly: I’d arrived in “the land that time forgot.” As the start of one Coast to Coast stage and the end of another, this surprised me.
Locals told me places open around 3–4pm, and it was Monday — which in Shap seems to be the weekly fast where nobody eats and nothing opens.
I bought three meal deals, plus extra drinks and chocolate, and sat on the only public bench I’d seen, cooling my feet and drawing curious looks from passers‑by.
Shap Abbey and the River Lowther
From Shap, more road walking led to a trail running parallel to the road towards Shap Abbey. The path comes within 100 metres of the ruins.
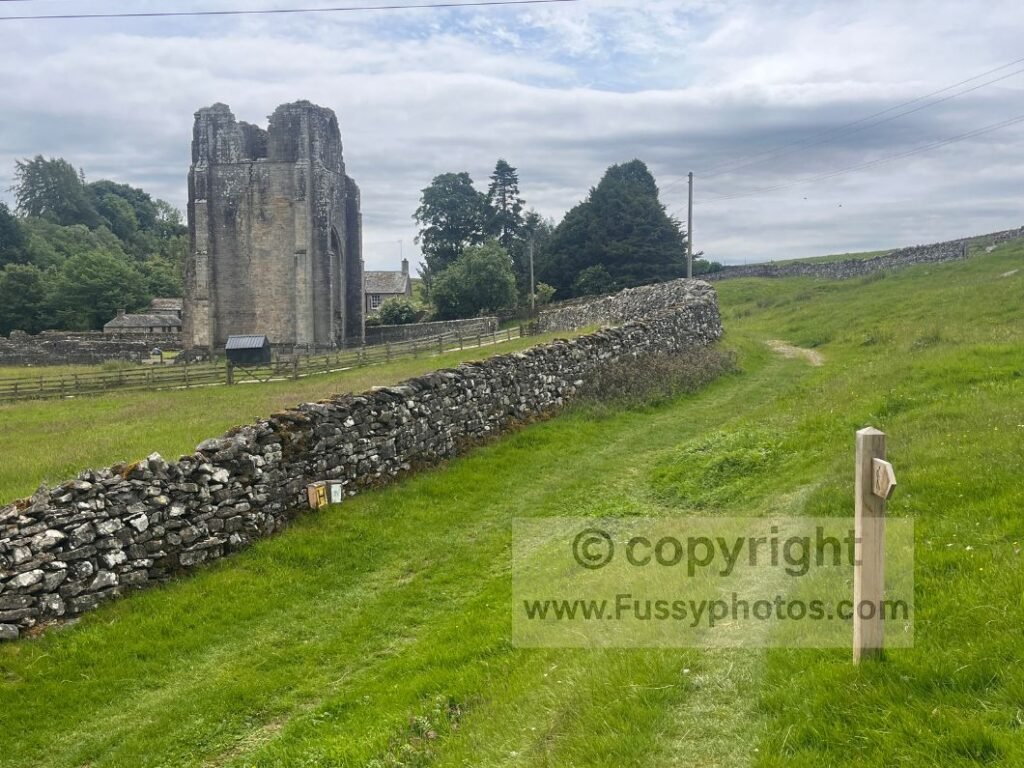
Shap Abbey was built around 1200 by Premonstratensian monks who chose a quiet valley by the River Lowther to live and pray in peace. After Henry VIII suppressed the monasteries, the abbey was dismantled and its buildings absorbed into nearby farm structures.
I dipped my feet in the cool river water—foot‑preservation plan in action.
Tricky Route‑Finding
North‑west from the abbey came some of the trickiest route‑finding of the entire trail. My guidebook’s line took me around a farmer’s field, yet three walkers were heading at right angles to my route.
I made my way to the centre of the field and followed the line the other walkers had taken, though the exact route across the grass was still unclear. I was now looking for a river crossing at the bottom of the field. A gap in the dry‑stone walls seemed promising, so I followed it down to the water — only to find no crossing at all. I retraced my steps and scanned the field for any sign of the correct route. There were no markers, no worn trail, nothing to suggest where the Coast to Coast actually went. Eventually I spotted a hidden dip in the ground leading to a gate, followed it, and finally crossed the river. It was yet another example of how much more obvious the route is when walking west–east, where the trail delivers you neatly to the dip, rather than east–west, where you have to go hunting for it.
When I met a west‑to‑east walker shortly afterwards, he warned me about horseflies ahead. I wanted to share good news, but told him of the route‑finding was coming his way. It did make me wonder whether walkers really give up on this day because of the elevation profile. A sign here confirmed the good news: 56 miles to go, 2.5 days remaining.
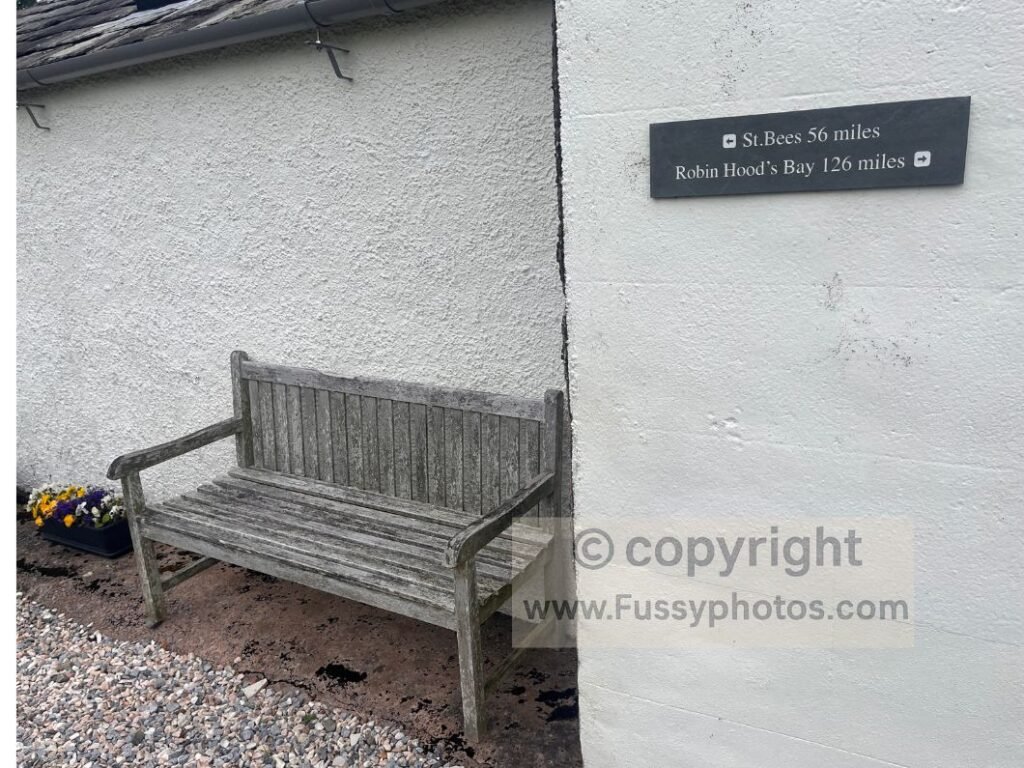
At least I could now see the valley ahead, and although Haweswater itself wasn’t yet visible, the terrain was clearly shifting towards foothills, which lifted my mood.
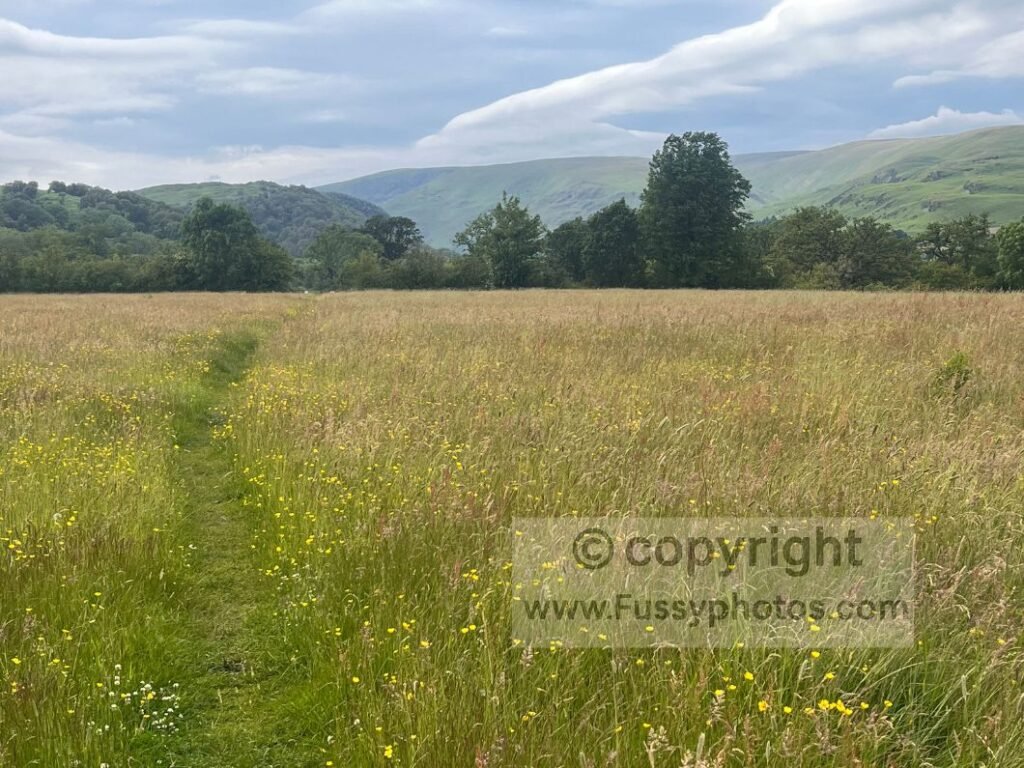
The trail then threaded through patchy fields with no real views, crossed a small road, and passed a house with a bench outside.
Route‑finding became fiddly again as the trail wound through wooded sections and cattle fields until I reached Burnbanks, a small cluster of houses and a bench — shoes off again.
Haweswater: Slow, Boggy, Beautiful
A short climb brought me parallel with Haweswater, though the first 45 minutes offered only glimpses through dense conifers. Boggy ground and puddles showed how wet the area had been. Paving stones would have helped both speed and erosion.
Eventually the trees fell away and the reservoir dominated the view. The trail remained high above the water until passing The Forces waterfalls and a viewpoint with expansive views—shoes off again.
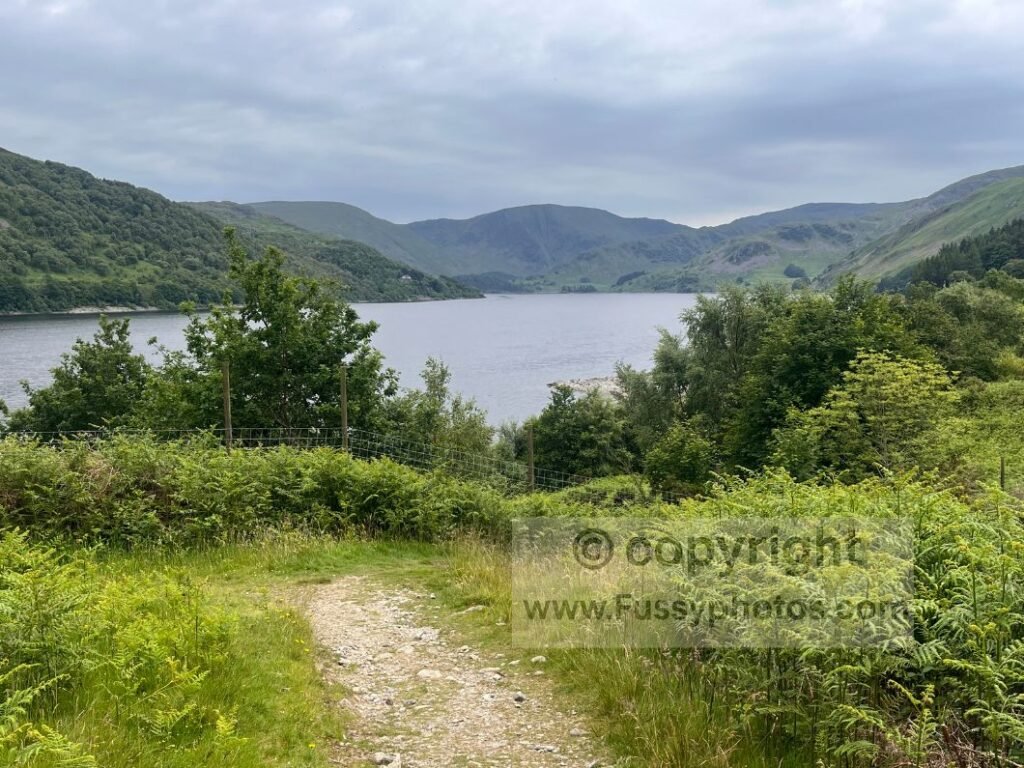
Despite being only 3.5 miles long, the traverse took me 2.5 hours thanks to uneven terrain, surface water and foot pain. Thankfully, the western end of Haweswater is spectacular, and I stopped worrying about time and simply enjoyed the trail.
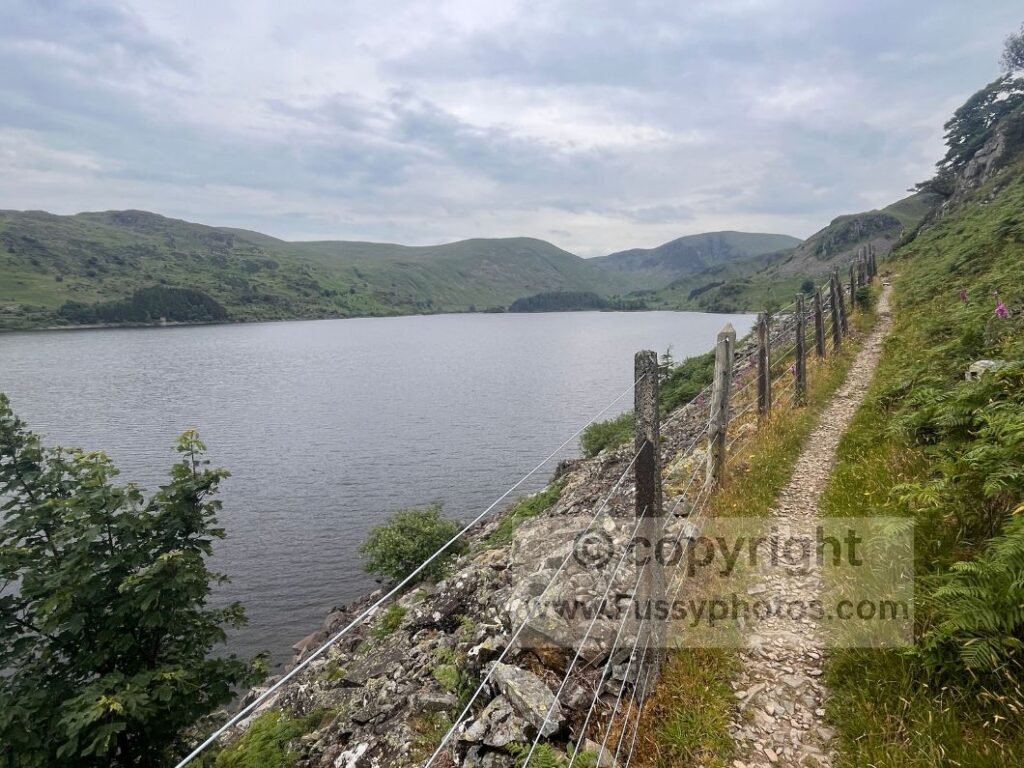
Speaking Crag, a narrow spit of land jutting into the reservoir, finally appeared ahead, signalling the end of the water and the start of the foothills.
If you’d like to see where this Haweswater traverse — and the Kidsty Pike and Angle Tarn section that follows — sits within the trail’s top ten standout moments, you’ll find it in my Top 10 Highlights of the Coast to Coast.
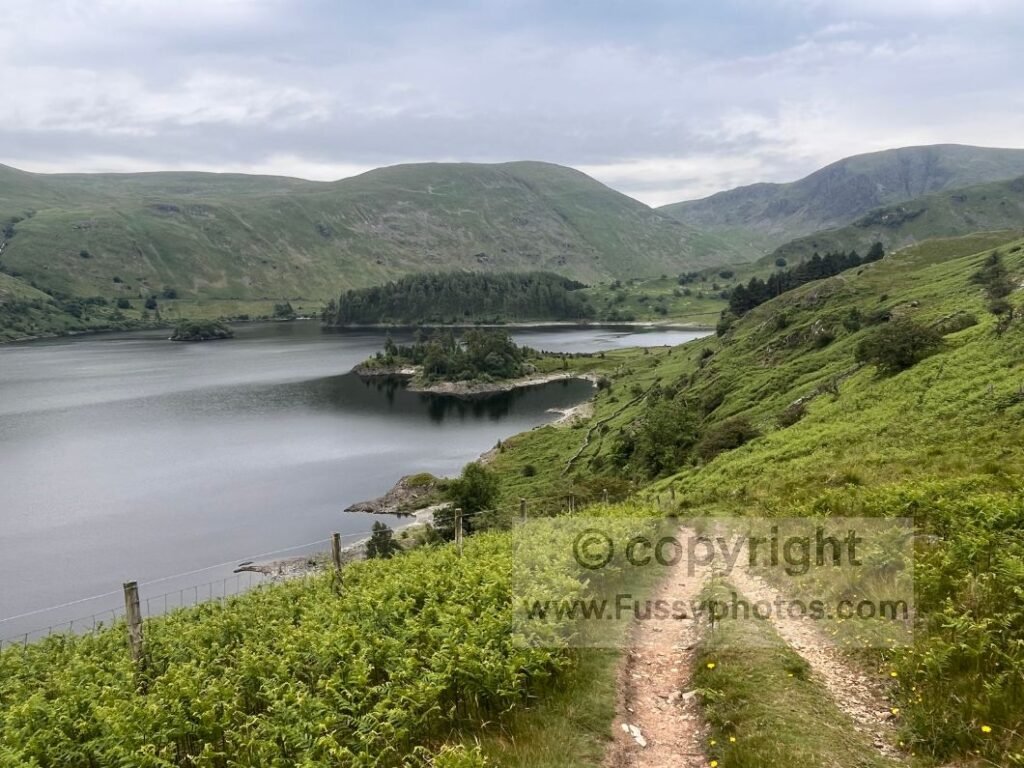
The Brutal Ascent to Kidsty Pike
Seventeen and a half miles into my day, I’d have happily pitched somewhere nearby, but I still had five hours of daylight and five miles to Angle Tarn. One final small waterfall offered a last chance to cool my feet before the 570‑metre ascent to Kidsty Pike.
I’d have happily pitched my tent, but I still had daylight and miles to Angle Tarn.
The climb to Kidsty Howes and Kidsty Pike is brutal—300 metres in 0.6 miles with no switchbacks. It took me 45 minutes. I sweated despite gentle rain, but the views west along Riggindale and back over Haweswater made it a highlight.
Beyond Kidsty Howes, the gradient eased and the trail widened. I reached Kidsty Pike after a 90‑minute ascent, greeted by the glow of an early sunset.
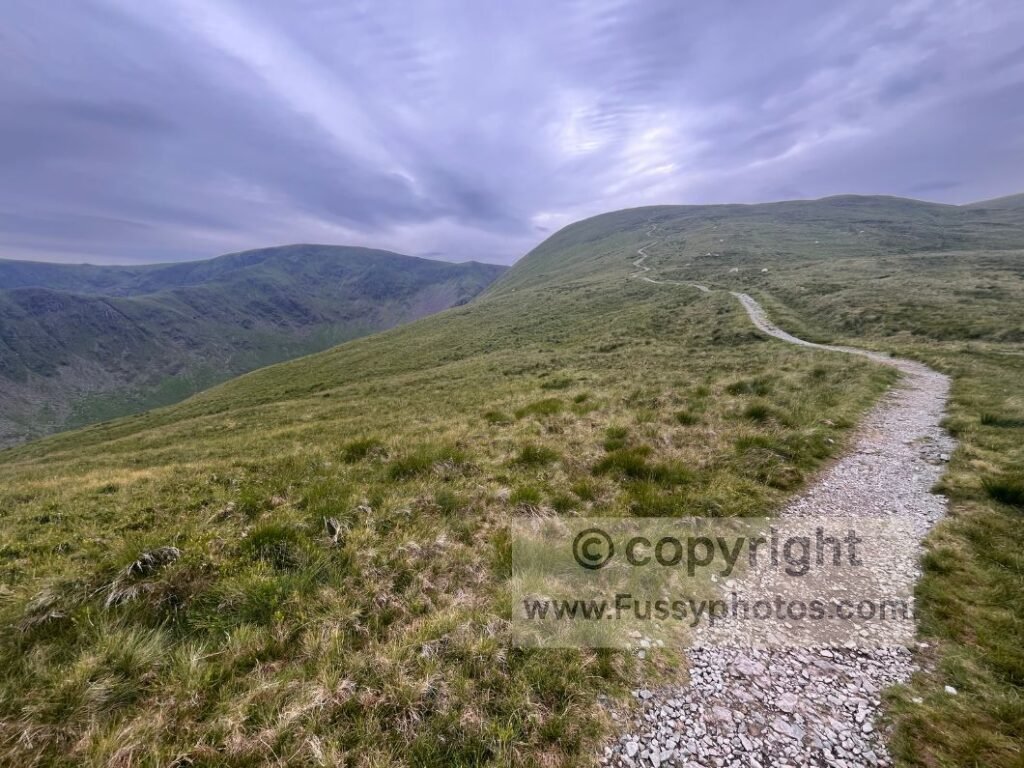
Trails sprawled in all directions; a compass is essential here. Visibility was excellent, and solitude made the moment even better.
It’s a part of the Lake District I’ve never visited, but I kept spotting peaks and trails I’d like to come back and tick off in the future — my favourite being the U‑shaped sweep of Riggindale and High Street beyond Kidsty Pike.
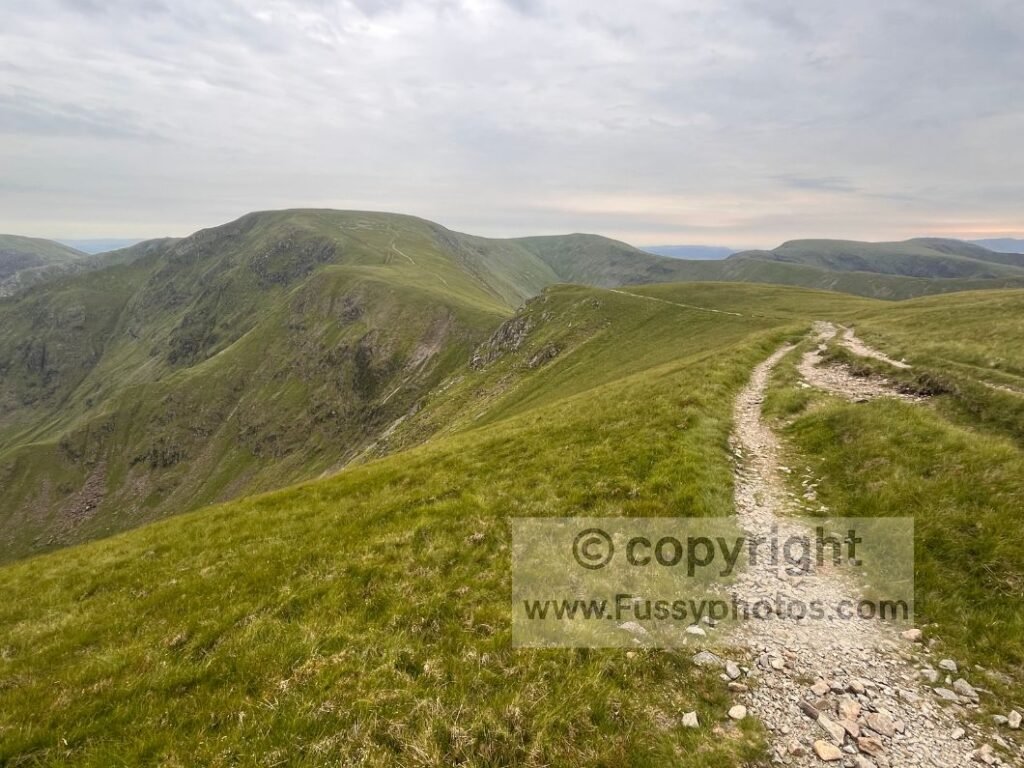
Hayeswater, Bannerdale and the Final Push to Angle Tarn
Passing The Knott, the bulk of Rest Dodd rose steeply above the path, a superb backdrop in the fading light. By now I was shattered — my feet were screaming with every step — and progress along the rocky trail slowed to a careful shuffle.
If you’re wondering how this kind of exhaustion compares to the toughest parts of the Coast to Coast, you’ll find a full breakdown in Is the Coast to Coast Hard? (How to make it easier).
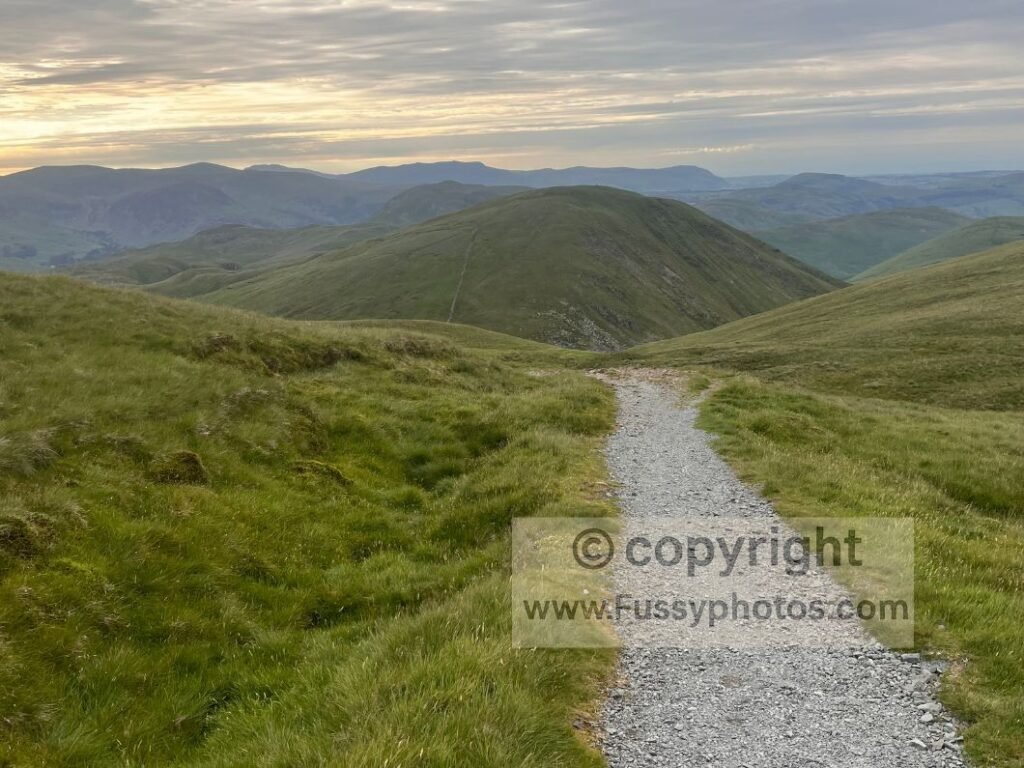
By 19:30, I still half‑considered descending all the way to Patterdale. It would leave me a “mere” 14.5‑mile day tomorrow, but the effects of my earlier triple meal deal had long worn off, I hadn’t eaten since, and there was every chance the campground would be full. Angle Tarn felt like the more sensible option — and my feet certainly voted for it.
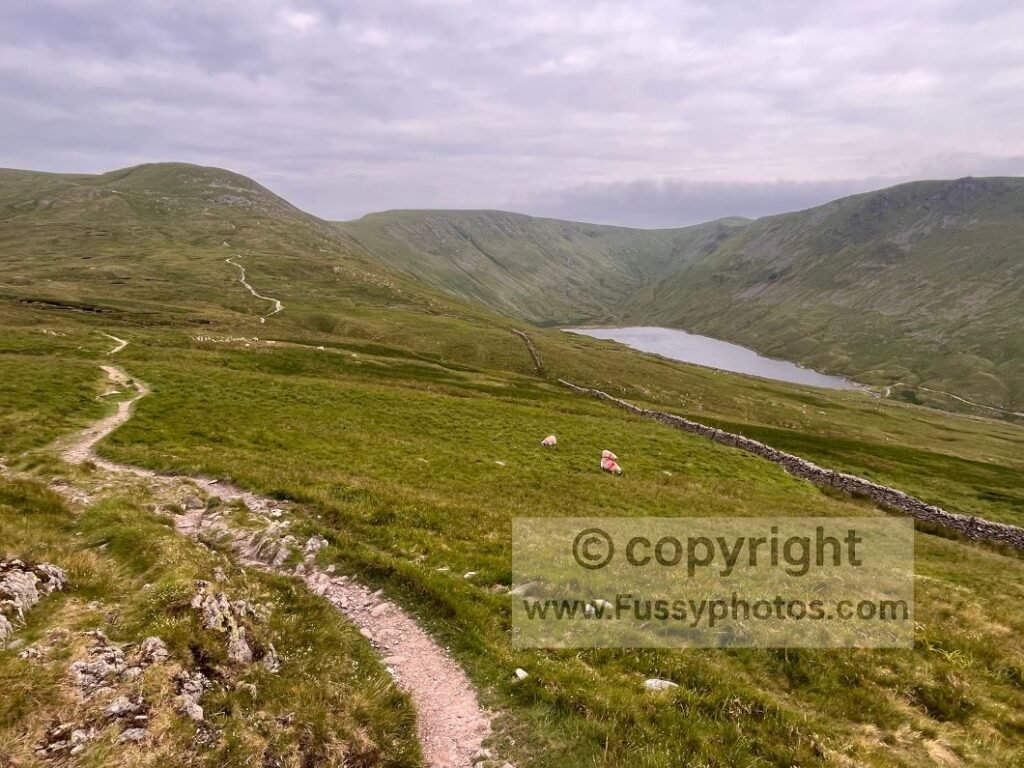
The wind picked up sharply, and the 25°C heat of the afternoon vanished. At times I felt genuinely cold. Yet the route ahead was spectacular: a genuine contender for my highlight of the Coast to Coast Trail, matching any scenery I’ve seen in the UK. Hayeswater, another glacial lake, appeared below to the left, while the U‑shaped sweep of Bannerdale looked magnificent.
Angle Tarn Wild Camp
I reached Angle Tarn after 8pm, closing out a huge 13‑hour walking day. It wasn’t my longest on the trail, but it was unquestionably my hardest so far.
Angle Tarn was far larger — and far more beautiful — than I’d expected. As I approached, I made out the silhouettes of tents dotted around its edges; the prime spots were clearly taken. I scanned the view, skirting the eastern side of the tarn and weighing up my options:
- views but strong wind over the water,
- calmer pockets with a bit of gradient,
- or a potentially flat, sheltered area to the northwest.
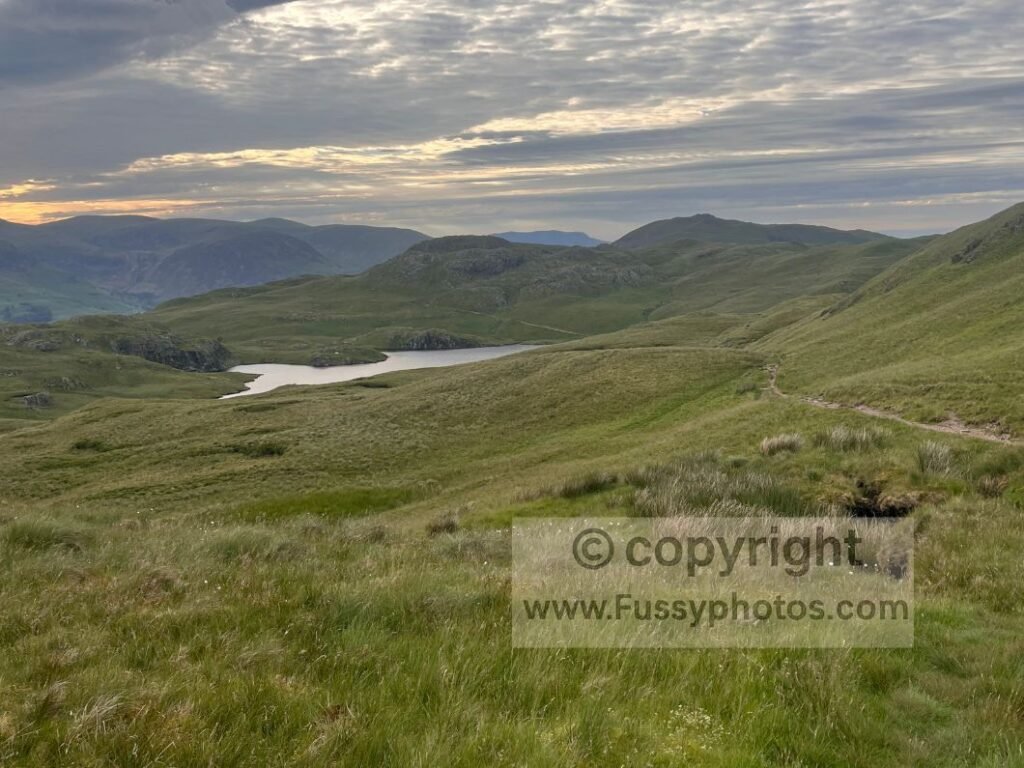
At this point, I couldn’t face even another 200–300 metres. I chose a flat patch right beside the water. The only downside, other than the wind, was the impressive concentration of duck poo. I kicked out a tent‑sized space as best I could. Pitching the tent was a battle. The wind caught it so violently that it felt like I might as well have not bothered clear a space. Another group arrived and set up slightly closer than I’d normally prefer for a remote wild camp, but I took advantage and asked if someone could help me get the tent secured.
Exhausted, I couldn’t face using the stove. I ate a food bar as a late tea and called it a day — a long, hard one, but a fantastic evening of walking.
If you’re preparing for long, mixed‑terrain days like this — especially if you’re camping, managing pack weight, dealing with heat, water dips, steep ascents and late‑evening wild‑camp decisions — you’ll find a full breakdown of what to bring in How to Pack for the Coast to Coast.
Practical Tips for This Day
Silly FAQs for Day 7 — Sunbiggin → Angle Tarn
Is Shap really “the land that time forgot”?
Yes. Archaeologists believe civilisation may return around 3–4pm, Monday permitting.
Why do so many eastbound walkers quit at Shap?
They look at the elevation profile, realise Kidsty Pike isn’t a metaphor, and decide trains are a perfectly valid form of long‑distance travel.
Is Haweswater actually 3.5 miles long?
Technically yes, but emotionally it’s somewhere between 9 and 14 miles depending on foot pain.
Why are the horseflies so organised?
Local reports suggest they operate a rota system, ensuring every walker receives equal “attention.”
Is Kidsty Pike climb really that steep?
If you enjoy 300 metres in 0.6 miles with no switchbacks, congratulations — you’ve found your Everest.
How do you choose a wild‑camp spot at Angle Tarn?
Simple: pick the least windy patch of ground with the lowest concentration of duck poo.
Key Facts: Day 7 — Shap to Angle Tarn
- Don’t rely on Shap for food — The pub, chippy and hot food at the Co‑op may all be shut. Carry enough calories to avoid depending on village opening hours.
- Use Shap Abbey as a reset point — It’s the last easy water‑cooling spot before the tricky field navigation. Take the chance to cool your feet and refill.
- Expect confusing route‑finding — The field crossings north‑west of Shap Abbey have no markers, no worn trail and misleading lines from other walkers. Scan for dips, gates and subtle terrain clues.
- Prepare for horseflies — They appear in organised waves through the fields before Burnbanks. Move steadily, avoid stopping, and keep exposed skin covered.
- Slow miles around Haweswater — The reservoir traverse is wet, uneven and time‑consuming. Expect 2–3 hours for 3.5 miles and pace your day accordingly.
- Brace for the Kidsty Pike ascent — The 300m climb in 0.6 miles is brutal with no switchbacks. Eat before starting, and don’t underestimate how much the gradient will slow you.
- Use a compass beyond Kidsty Pike — Trails sprawl in all directions. Excellent visibility helps, but a compass removes doubt when fatigue sets in.
- Expect temperature swings — The wind above Hayeswater can drop the temperature sharply. Keep a layer accessible even on hot days.
- Angle Tarn fills quickly — Prime pitches go early. Be ready to choose between wind exposure, gradient, or less‑than‑ideal ground conditions.
Continue to Day 8 on the Coast to Coast
Next →
Return to the Coast to Coast Hub
If you’re shaping your own itinerary — whether a thru‑walk or a flexible section walk — the hub page gathers every planning guide, highlight list and stage report.