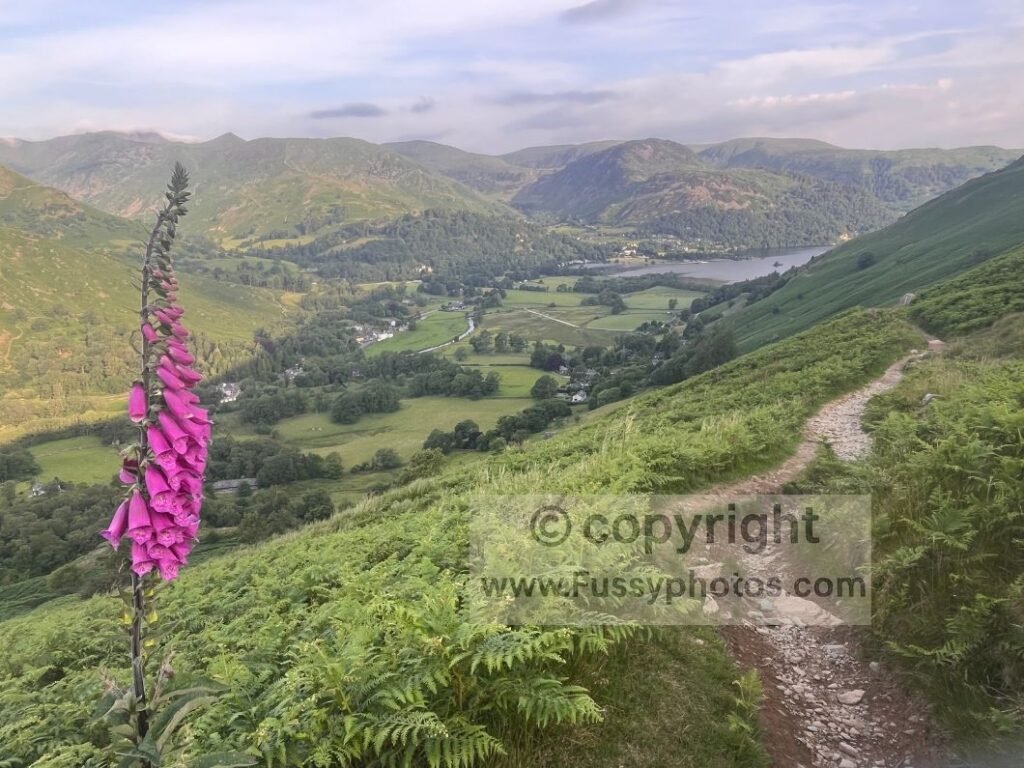
Wainwright’s Coast to Coast has grown into one of England’s best‑known long‑distance walks since he first mapped it out fifty years ago. Each year, thousands of walkers follow his cross‑country line from the Irish Sea to the North Sea, a route that has become a defining part of his legacy. Inspired by Tom Stephenson’s Pennine Way, Wainwright designed a 192‑mile journey linking three of England’s finest National Parks. It begins on the cliffs at St Bees in Cumbria and finishes at Robin Hood’s Bay in North Yorkshire — a true west‑to‑east crossing from one coast to the other.
A Varied, Scenic Walk Across England
The Coast to Coast is one of the most diverse long‑distance walks in the UK. You begin on the red sandstone cliffs of St Bees, cross the steep passes of the Lake District, move into the rolling limestone scenery of the Yorkshire Dales, traverse the wide moorland of the North York Moors and finish with an iconic descent into Robin Hood’s Bay. Few routes offer such a complete cross‑section of English landscapes in a single continuous journey.
Watch Coast to Coast: What It’s Really Like (Full Section‑by‑Section Overview)

Section‑by‑Section: What the Trail Actually Feels Like
The breakdown below reflects typical terrain, navigation demands and daily pacing across each section, drawn from long‑distance walking experience and route familiarity.
St Bees → Ennerdale
The opening miles are gentle but surprisingly long. You follow clifftop paths with wide sea views before turning inland through woodland valleys and farmland. Navigation is straightforward, and the terrain is forgiving, making this a comfortable warm‑up before the Lake District begins.
Ennerdale → Rosthwaite
This is where the Coast to Coast becomes unmistakably Lake District. After the long forestry track through Ennerdale, the route climbs into a glaciated valley and progress naturally slows. Black Sail Hut is the last calm moment — a place to refill bottles, cool your feet, and accept that the easy miles are over.
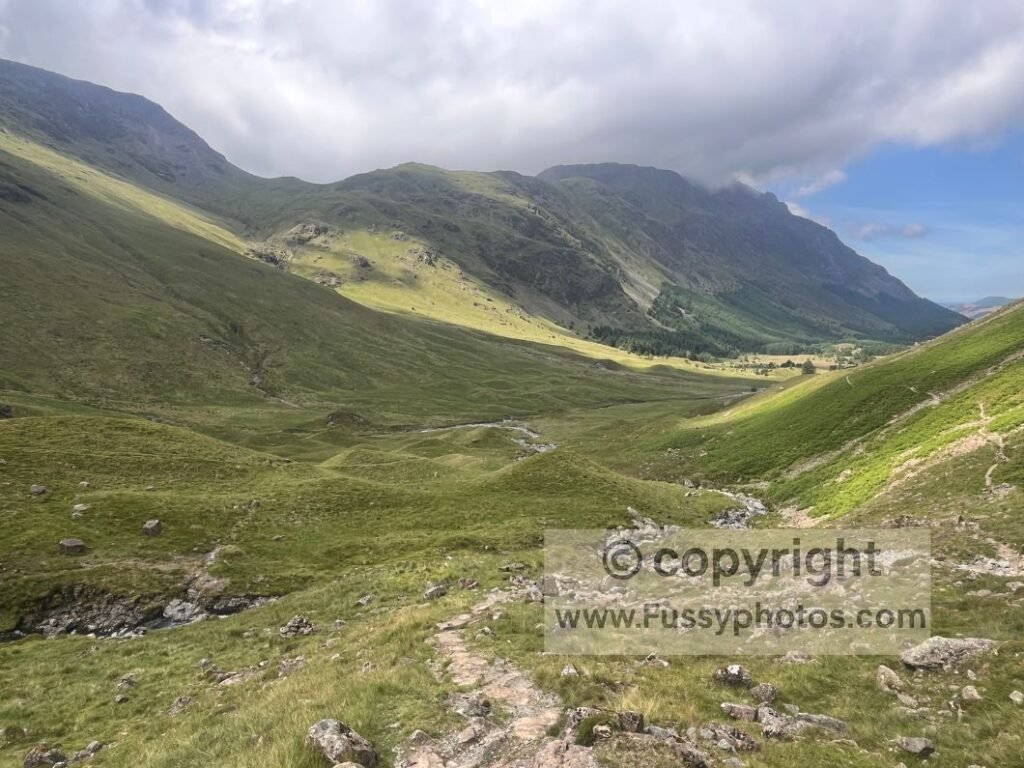
The ascent beside Loft Beck is short, steep and rocky, with stone steps that feel twice as tall as they look. Above the climb, the trail levels near Drum House, opening into superb hanging‑valley views. On clear days, walkers get one of the best panoramas on the entire C2C: direct sightlines to Buttermere and Crummock Water, framed between Haystacks, Fleetwith Pike and Dale Head.
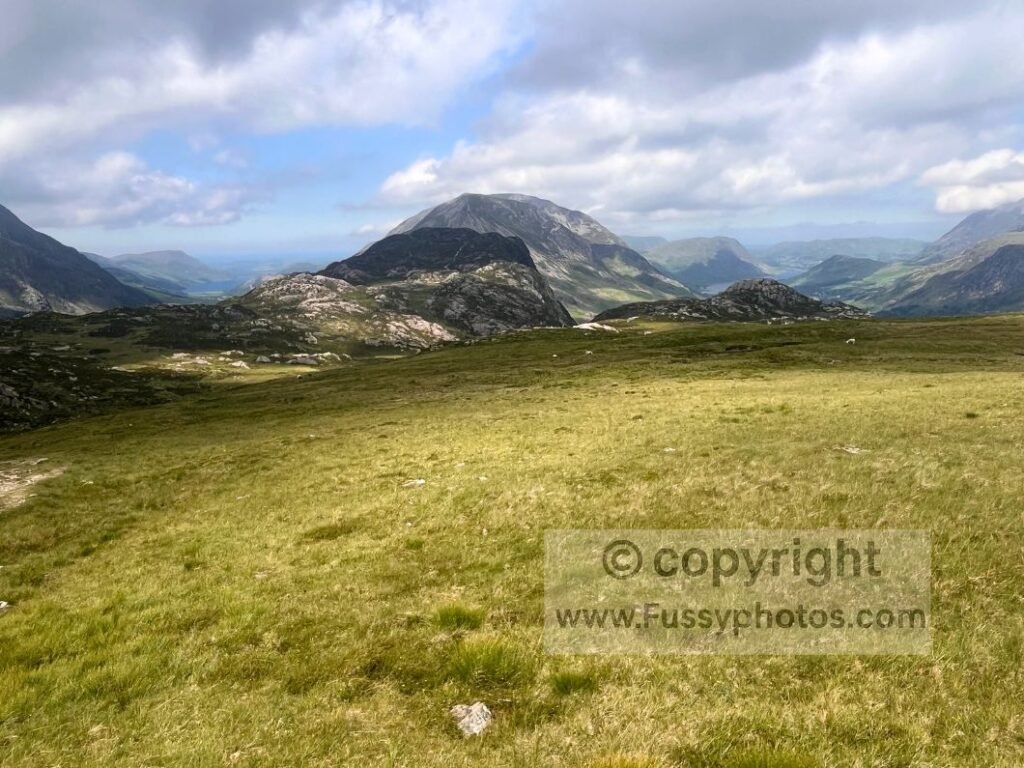
From here, the descent to Honister is rugged and slow, especially on wet rock. Honister Slate Mine offers toilets, a café and a breather before the final miles. Once over the high ground, the route drops into Borrowdale. Most walkers arrive with a mix of relief and anticipation — some of the hardest terrain is behind them, but the next day still carries serious mileage and two major Lake District passes unless you choose to break the journey at Grasmere.
See how I tackled this demanding day in my full Day 9 report — Rosthwaite to Ennerdale Bridge
Rosthwaite → Patterdale
This is one of the Coast to Coast’s toughest days: two mountain passe and, long glaciated valleys. Many walkers split it at Grasmere. If you want a clearer breakdown of how this stage compares to the toughest parts of the Coast to Coast, you’ll find it in Is the Coast to Coast Hard? (How to make it easier)
From Rosthwaite, the route climbs into the wide bowl beneath Greenup Edge. The ascent is steep, rocky and slow, with short scrambles and a hands‑on section near Lining Crag. The high plateau delivers superb views into a classic U‑shaped valley — the reward for the effort — before a rough descent leads towards Grasmere.
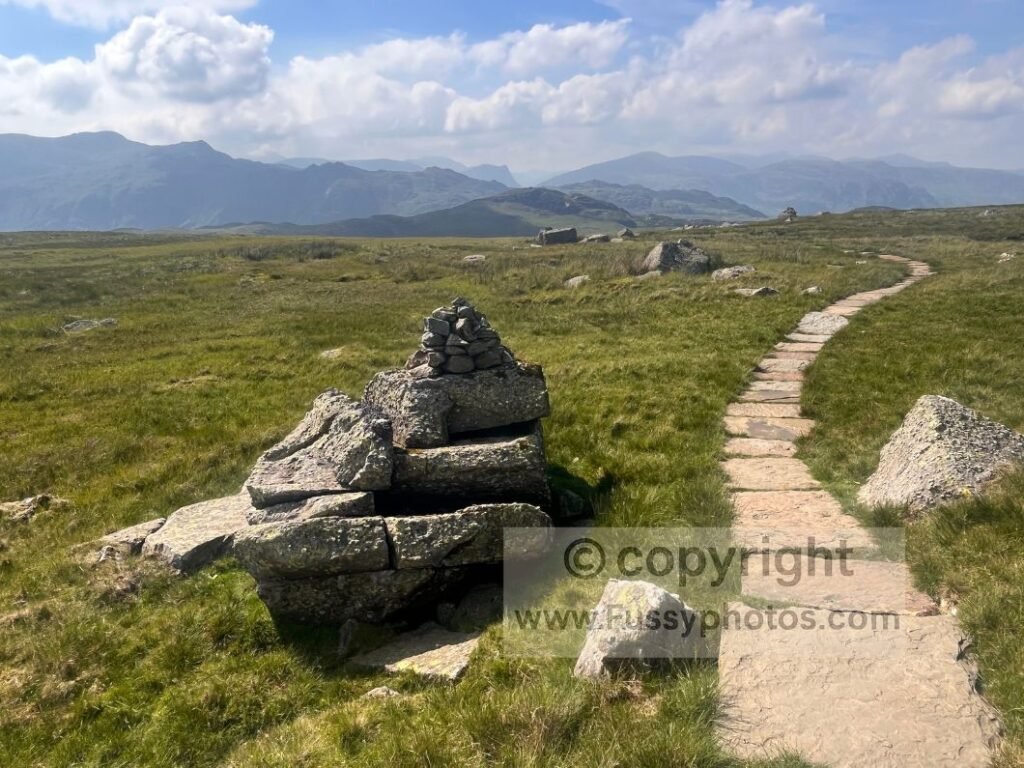
Most walkers pause in Grasmere for food, water or an overnight stop. Continuing beyond this point adds a second major climb. The trail follows Easedale Beck before rising sharply towards the corrie backwall beneath Grisedale Tarn. It’s a sustained ascent, and the final push to the tarn at 550m feels like a second summit. In clear weather, the views across Grisedale Tarn and down Grisedale Valley are outstanding.
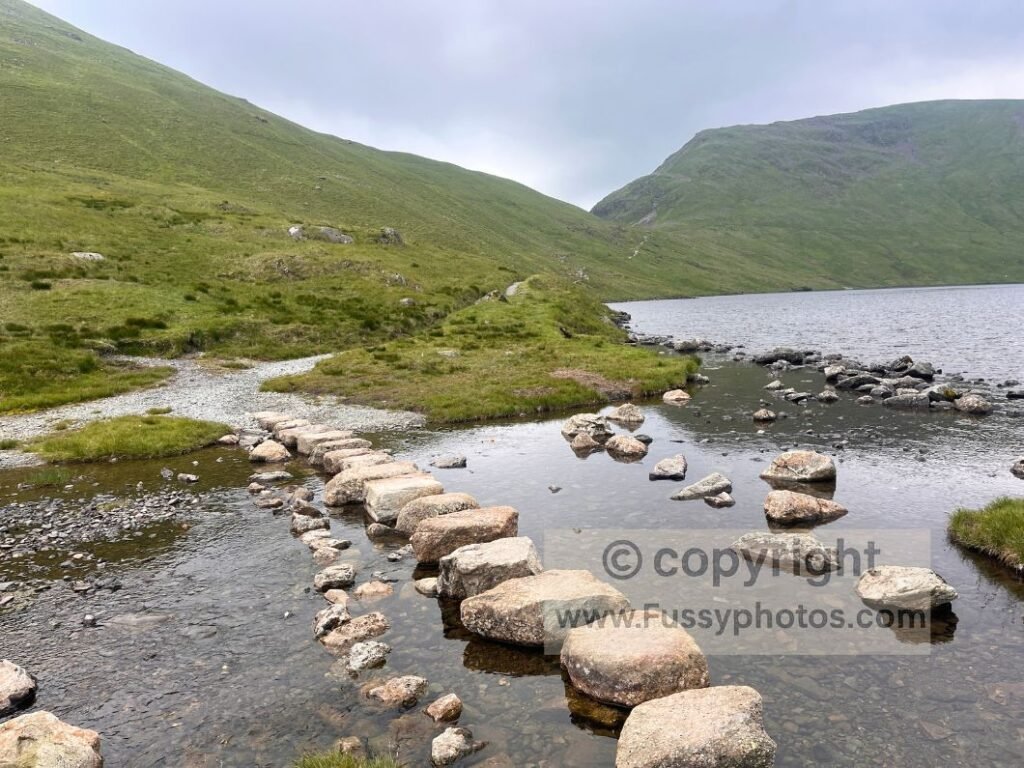
The descent into Patterdale is easier but tiring after two passes. The valley widens, gradients soften, and the village appears just as fatigue overtakes scenery. Most walkers reach Patterdale ready for rest — this is one of the C2C’s most demanding days, and breaking it at Grasmere remains the most logical option for many.
See how the miles leading into Patterdale really felt in my full Day 8 report — Angle Tarn to Rosthwaite
Patterdale → Shap
For west‑to‑east walkers, this is the final Lake District stage — a demanding day that combines one steep summit, one slow shoreline traverse, and a long farmland finish. It begins with a sustained climb from Patterdale towards Kidsty Pike, rising through glaciated valleys with early views of Angle Tarn, Hayeswater, and the corrie walls above Bannerdale. The ascent is steep and switchback‑free, and most walkers naturally slow as the gradient increases.
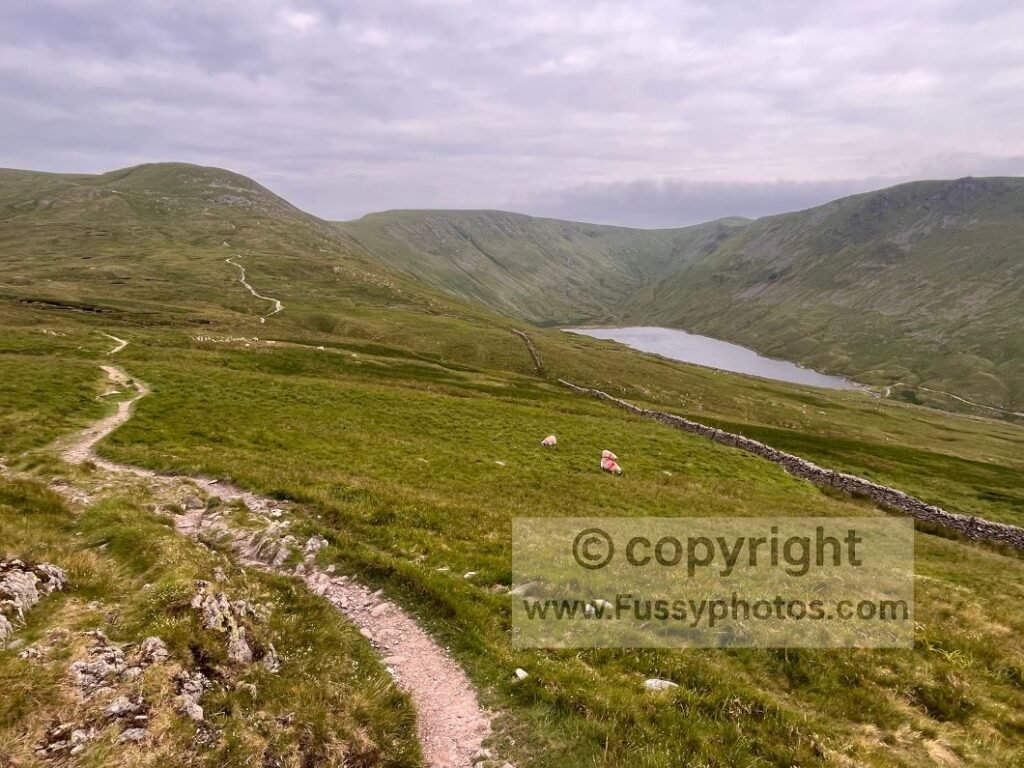
The final push to Kidsty Pike is the high point of the day, offering superb views over Riggindale, High Street, and the long ridge system ahead. In clear weather, it’s one of the most memorable panoramas on the entire C2C; in poor visibility, navigation demands care, with multiple tempting lines branching across the ridge.
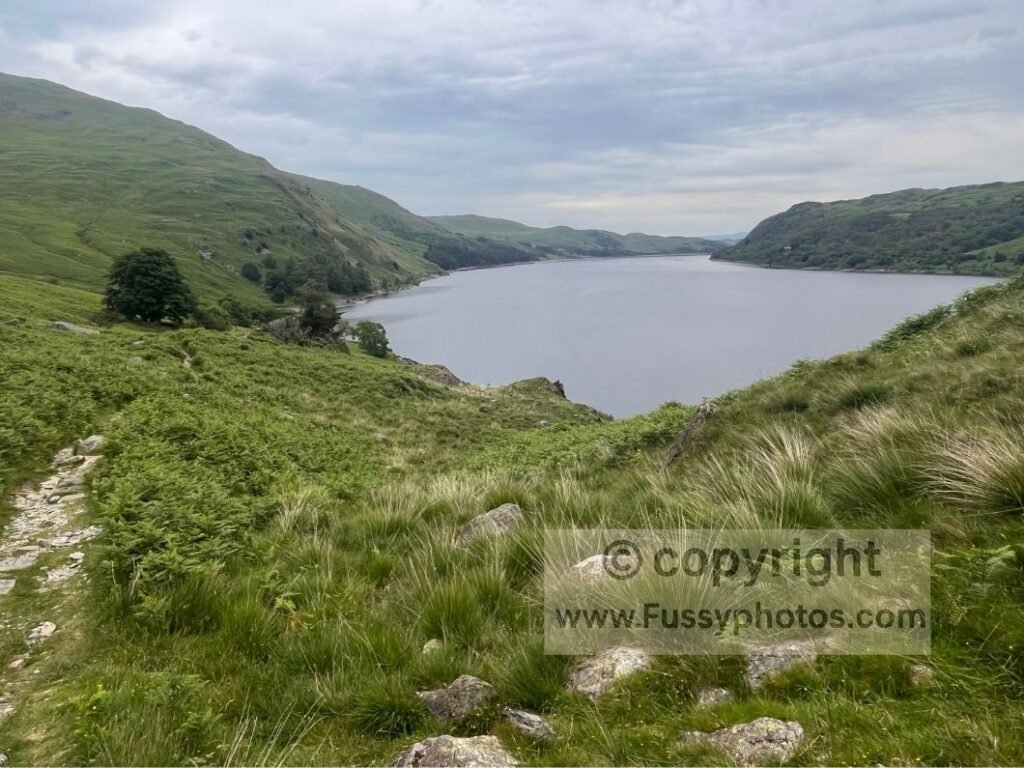
The descent to Haweswater is rough, but the best views arrive early — sweeping panoramas from Kidsty Pike and Kidsty Howes, and another superb viewpoint just west of Speaking Crag. After that, the 3.5‑mile shoreline traverse is slow, uneven and wet, often taking walkers far longer than expected before the trail finally drops to Burnbanks.
Beyond Haweswater, the day shifts into farmland and wooded sections with fiddly navigation, indistinct field crossings and occasional horseflies. The approach to Shap feels long and repetitive, with quiet valley paths and short road stretches leading gradually into the village.
By the time you reach Shap, it’s normal to feel exhausted and ready to give up — this final Lake District stage is tough, and the long farmland finish doesn’t make it any easier. But the biggest elevation gain is now behind you, and the next few days are far more manageable, with multiple ways to break the mileage into shorter, easier sections. Shap becomes the point where the walk resets and confidence returns. If you want help shaping an itinerary that matches your time, fitness and walking style — including how to balance mileage, rest days, accommodation and pack weight — see How to Plan Your Best Coast to Coast Walk.
Shap → Kirkby Stephen
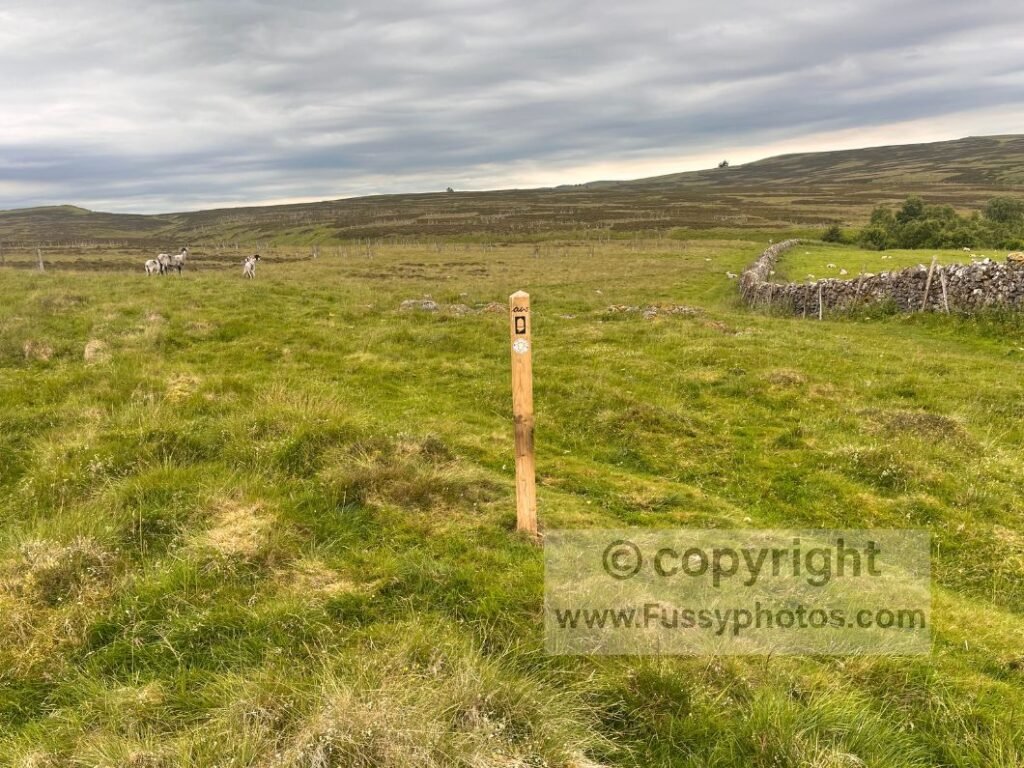
This is a long but steadier day, with roughly half the elevation gain of the previous stage and a clear shift into limestone scenery and rolling Dales. Leaving Shap, the route moves quickly into open farmland and moorland, with occasional fiddly navigation.
The miles towards Sunbiggin feel remote and open, with sheep‑grazed fields and wide moorland plateaus. Some walkers choose to split the day at Orton, which sits just off‑route and offers a natural halfway break before the terrain becomes more scenic.
For a detailed east–west perspective on Haweswater, Kidsty Pike and the approach to Shap walking the coast to coast in reverse, see my full Day 7 report — Sunbiggin to Angle Tarn.
Beyond Sunbiggin, honesty boxes and small farm rest points appear — rare top‑ups in an otherwise empty landscape — before the trail turns east towards one of the highlights of the stage: the drop into Smardale Bridge and Scandal Beck. This sheltered valley of dry‑stone walls, stone bridges and enclosed farmland is a short but memorable section that breaks up the moorland miles.
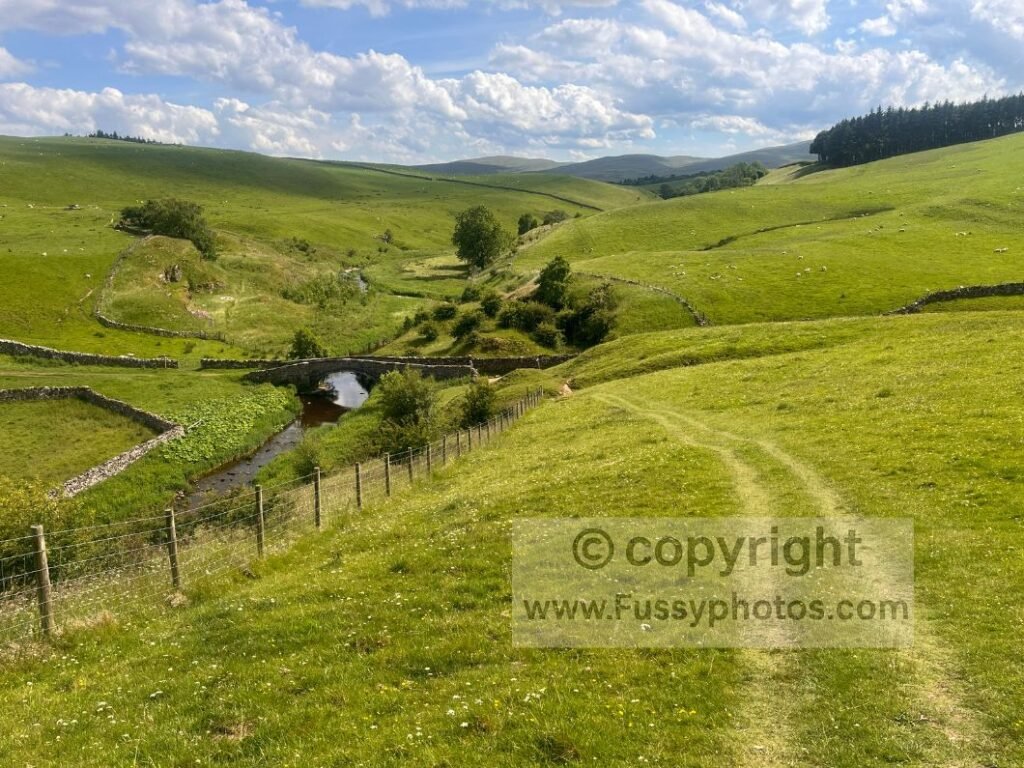
The final approach to Kirkby Stephen is straightforward, passing under the Settle–Carlisle railway before entering the town. If you’re planning shorter days, Kirkby Stephen is also a key decision point — see How to Split the Coast to Coast Into Stages for the best options. If you also need the best entry and exit points for each section, see Coast to Coast Transport: How to Reach Every Stage.
Kirkby Stephen → Keld
This is one of the most distinctive stages of the Coast to Coast: a steady climb to Nine Standards Rigg, followed by long, open moorland and a gradual descent into Swaledale. It’s only 11 miles, but conditions and route choice can make it feel very different day to day.
The climb to Nine Standards Rigg is gradual but exposed. In clear visibility, long views open between the Lake District and the Pennines, and the cairns appear suddenly on the skyline. Their origins remain uncertain, but they mark one of the most recognisable points on the entire route.
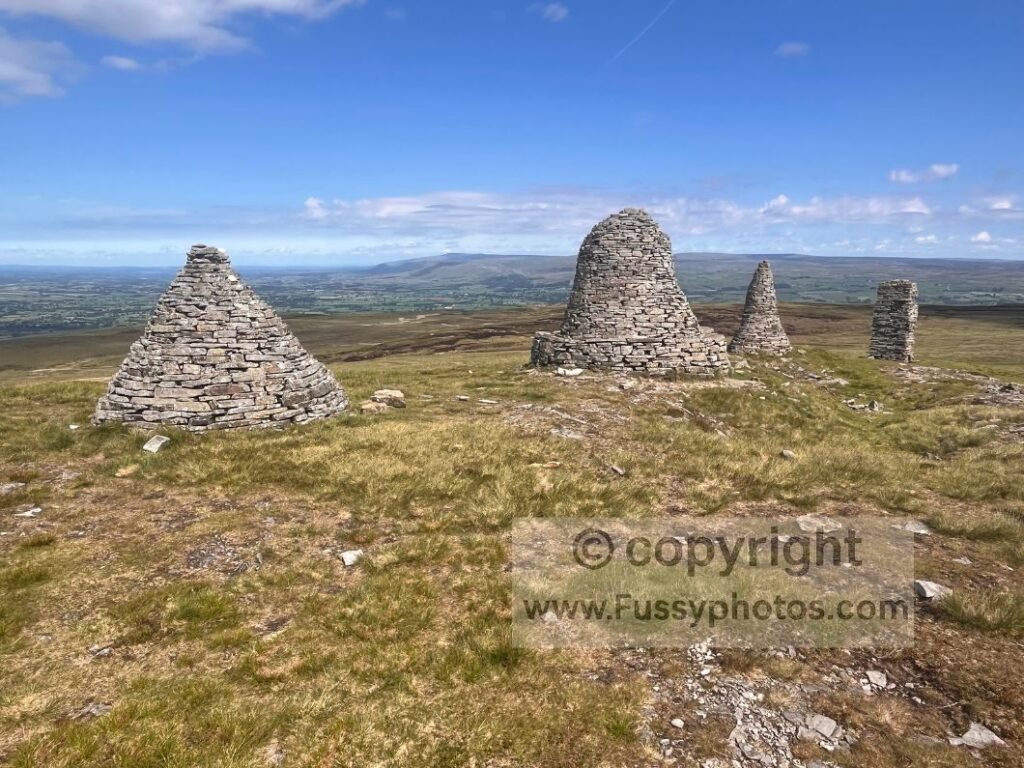
Beyond the cairns, the trail reaches the seasonal route variants — the Whitsundale Beck line, the paving‑stone route, and the Rollinson Gill alternative. These options manage erosion and suit different conditions: the paving stones give the clearest line in mist or rain, while the Beck route feels more natural in summer.
The descent into Keld is long and varied. Paving stones help initially, but the gradient soon steepens into a knee‑testing drop before easing into farm tracks and valley paths. In poor weather, this section can be slow and bog‑heavy; in dry conditions, it’s quick and scenic with wide views across Swaledale.
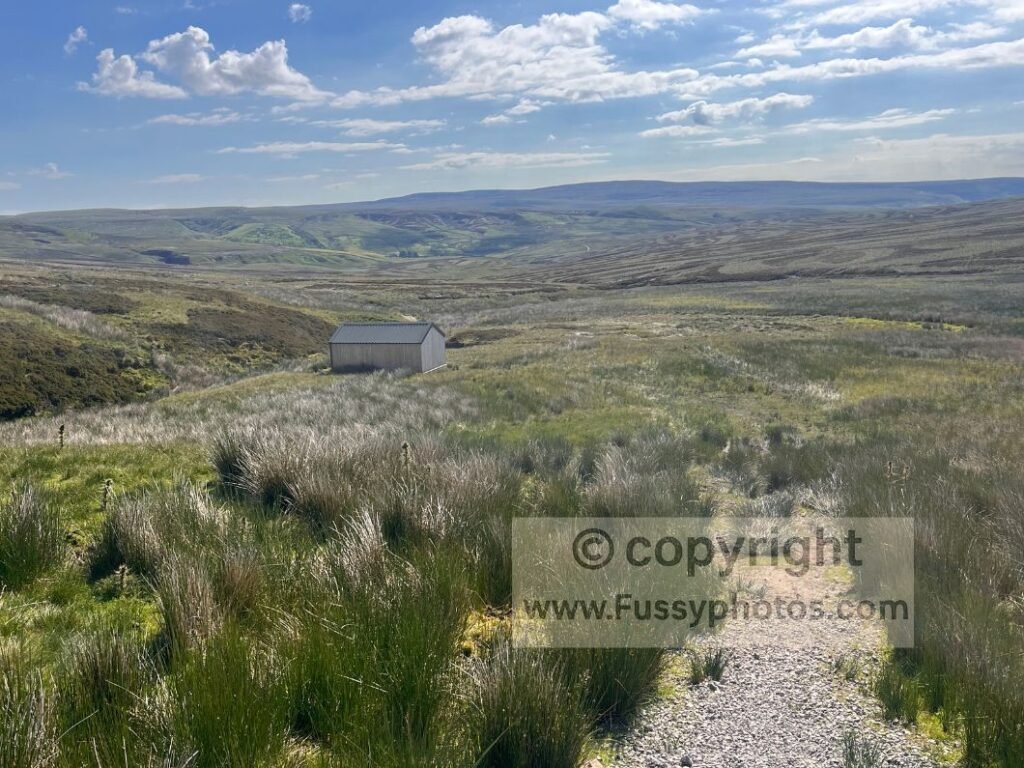
For an east–west perspective on Nine Standards, the moorland miles and the descent into Keld, see my full Day 6 report — Keld to Sunbiggin.
Keld → Reeth
Leaving Keld, west‑to‑east walkers immediately face a route choice: the traditional high route through the old mining landscape, or the easier riverside path along the River Swale. This section focuses on the high‑level line — the more dramatic and historic option.
The climb begins gently, rising above Swinner Gill, where the trail contours high on the hillside with waterfalls and old mill remains below. It’s one of the most atmospheric gills on the entire Coast to Coast, especially in good visibility. Beyond the rise, the path drops steeply into Gunnerside Gill, passing the ruins of Blakethwaite Mine before a sharp ascent out of the valley.
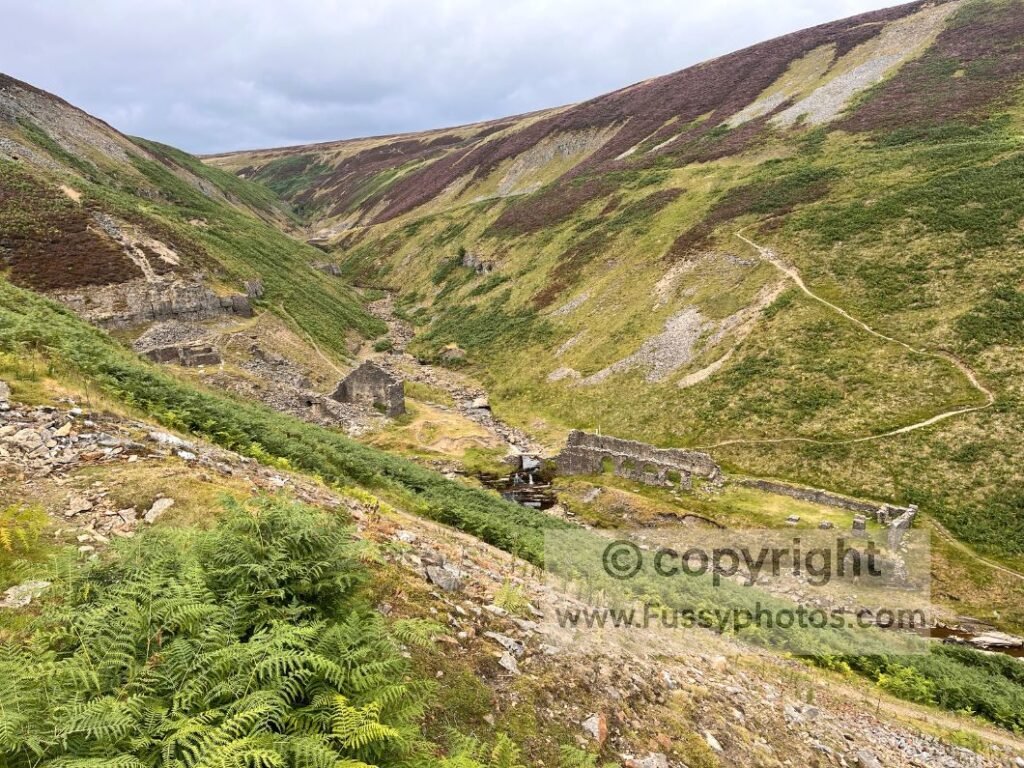
Further east, the moorland opens and the ruins of Old Gang Smelting Mills appear — a clear marker of Swaledale’s mining past. The terrain is exposed, with faint junctions and parallel paths where signage is sparse, making it easy to drift before rejoining the main line. Later, there are wide views across Swaledale as you begin the gentle approach towards Reeth.
If you’d like a clearer comparison of these two Swaledale options — including how the high‑level mining route differs from the gentler riverside alternative — see Keld High‑Level vs Low‑Level Route: How to Choose.
Reeth → Richmond
This is a gentler, more pastoral stage of the Coast to Coast — a day of rolling farmland, quiet lanes, shaded woodland and long views over the River Swale. It’s 10.3 miles with around 335m of ascent.
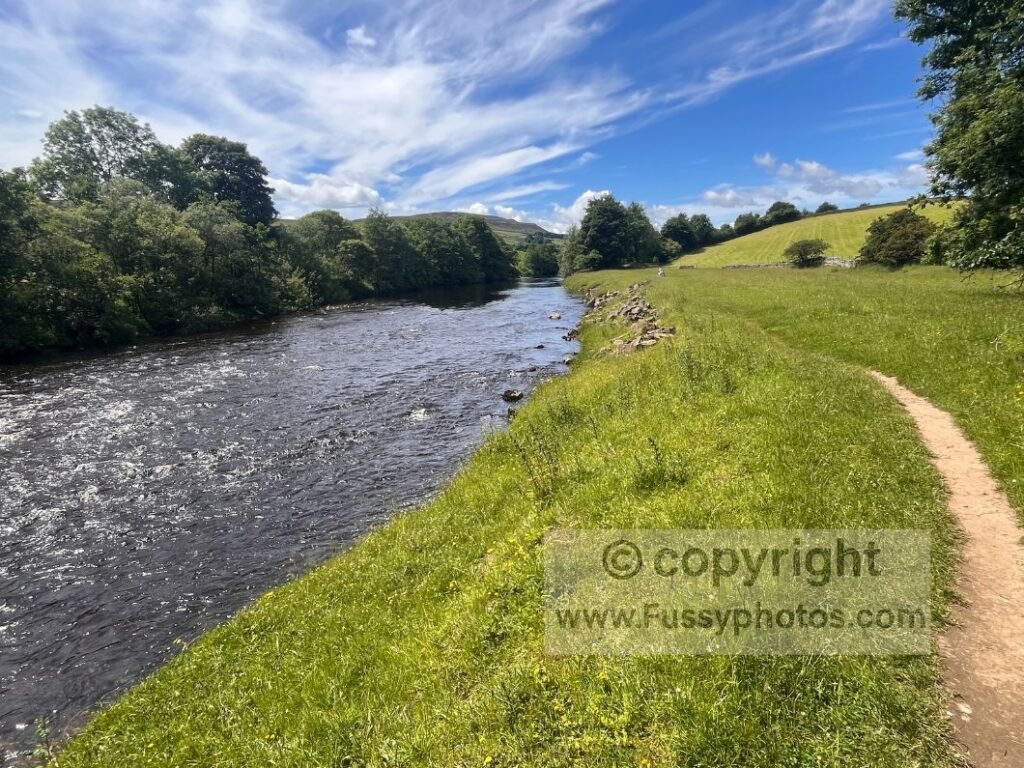
Leaving Reeth, the trail climbs steadily through fields and drystone walls before settling into a rhythm of easy undulations. Villages like Marrick and Marske appear briefly, offering benches and shade rather than amenities, and the day alternates between open hillsides and short woodland sections.
Road walking is a noticeable feature here — long, quiet stretches linking farmland and valley views.
The final miles into Richmond feel increasingly settled and green, with gravel tracks, farmland and glimpses of Richmond Castle through the trees. Signage fades as you enter town, but the reward is one of the best resupply points on the entire route: cafés, pubs, shops and accommodation all within minutes of the trail.
For an east–west perspective on both of these stages — which I walked in a single day — see my full Day 5 report: Richmond → Reeth → Keld.
Richmond → Ingleby Cross
This stage marks a clear shift in the Coast to Coast: the hills fall away, the scenery widens, and the walk becomes dominated by long, flat miles across the Vale of Mowbray. For many, it’s a mental rather than physical challenge — a day defined by farmland, hedgerows, quiet villages and the occasional burst of road noise.
The walking is easy underfoot but repetitive, and the hedges, tracks and farm lanes can blur together. Some walkers find the route‑finding engaging; others feel the monotony after a few miles.
Villages like Brompton‑on‑Swale, Bolton‑on‑Swale and Scorton offer brief punctuation — a church, a bench, a toilet, a glimpse of lakes the official path never quite reaches. The River Swale appears intermittently, sometimes only as sound rather than sight, offering a welcome change from enclosed farmland.
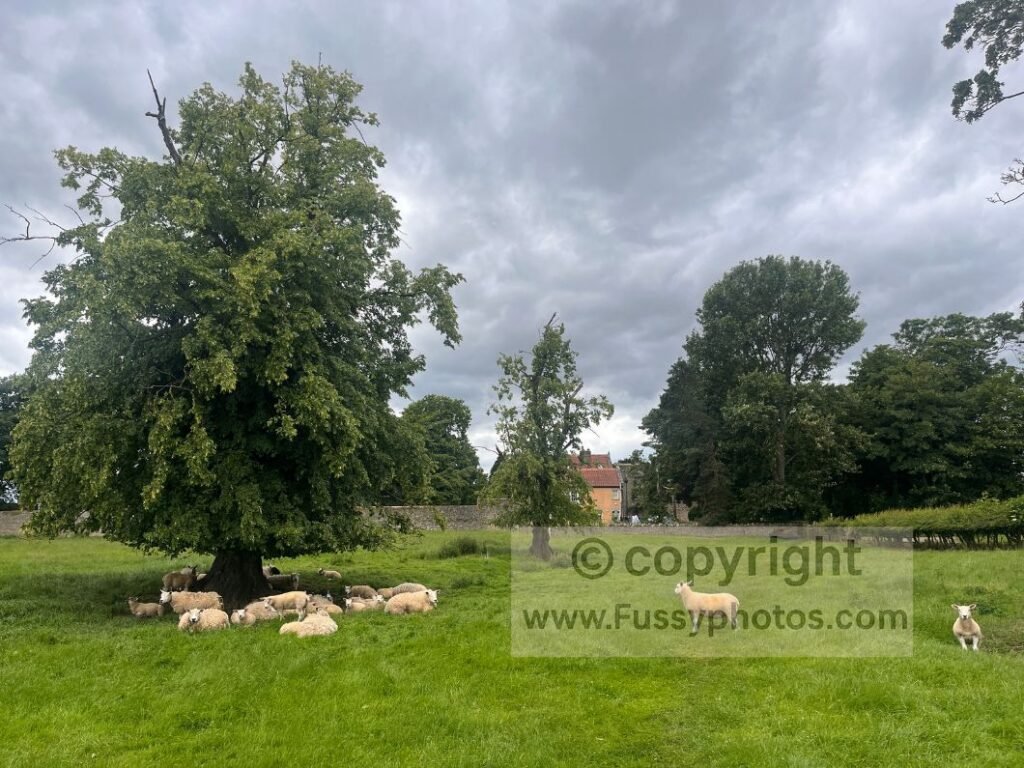
Further east, the landscape becomes even flatter, with long straight sections where progress feels measurable but unvaried. Danby Wiske, is a tiny village but strategic stop with a pub and a reputation for breaking up the farmland miles. It’s the kind of place that feels perfectly placed on a day like this. Many will choose to end the day here.
Beyond the village, the route continues through more fields and farm tracks before reaching one of the day’s few dramatic moments: the crossing of the A19.
For most walkers, this stage is less about scenery and more about rhythm — steady miles, simple terrain, and the anticipation of the uplands waiting on the next day when the trail joins the Cleveland Way.
For a dry, east–west perspective on the long farmland miles, Danby Wiske, and the approach into Richmond, see my full Day 4 report — Danby Wiske to Richmond.
Ingleby Cross → Clay Bank Top (11 miles)
This stage marks the moment the Coast to Coast leaves the flat farmland of the Vale of Mowbray. It’s a day of ridges, rollercoaster ascents, big skies and long views — far more dramatic than the miles that precede it.
From Ingleby Cross, the trail climbs into woodland before breaking onto open moorland, where the heather stretches endlessly and the height builds quickly. The early ascents around Scarth Wood Moor and Round Hill feel like a reintroduction to real elevation: sharp drops, steep climbs, long flights of steps and exposed ground where weather can change in minutes.
Once on the ridge, the character of the day becomes clear. The route rises and falls across three summits, a slow‑motion rollercoaster with superb views — east towards Roseberry Topping and Middlesbrough, west towards the distant Yorkshire Dales. In mixed weather, the light can be dramatic, with rainbows and shafts of sun over the Wainstones.
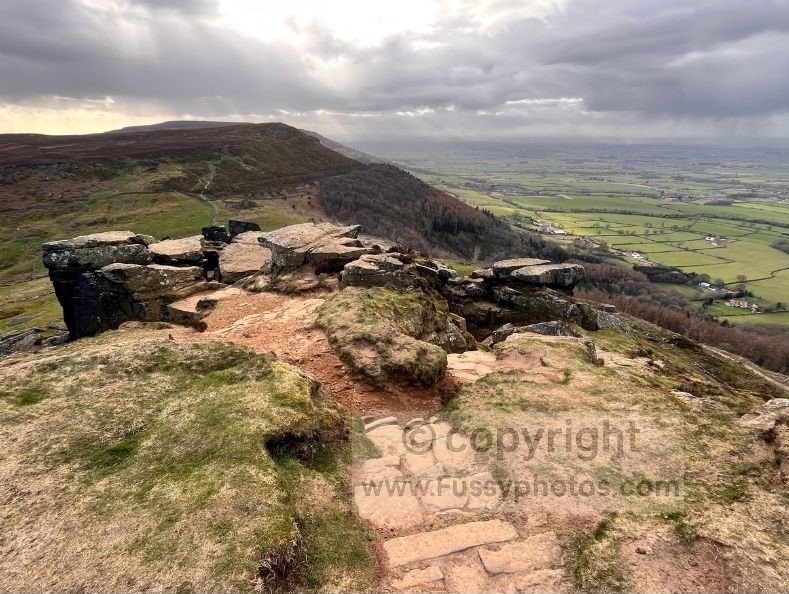
The final descent to Clay Bank Top is steady and often slick after rain, with the ridge falling away behind you and the moors closing in again. It’s a varied, rewarding stage with a real sense of progression across the North York Moors — especially in August, when the heather is at its most spectacular.
Clay Bank → Glaisdale (18 miles)
This is one of the Coast to Coast’s big moorland days — long, exposed and windy. It’s 18 miles of high‑level terrain where progress feels obvious, the scenery keeps shifting, and the weather can rewrite the mood of the day in minutes.
From Clay Bank Top, the trail rises onto the Cleveland Way ridge, beginning a slow‑motion rollercoaster across three summits. These undulations burn the calves but reward you with huge views: west to the Yorkshire Dales, east to Roseberry Topping, and down into the tributary valleys that flank the moors.
Beyond the ridge, the moorland broadens and the walking becomes faster. The old Rosedale Railway offers five miles of straight, easy progress, with wide views into Farndale and a sense of crossing a remote, self‑contained plateau — a stretch some walkers love for its simplicity, though I found it one of the more mundane sections of the Coast to Coast.
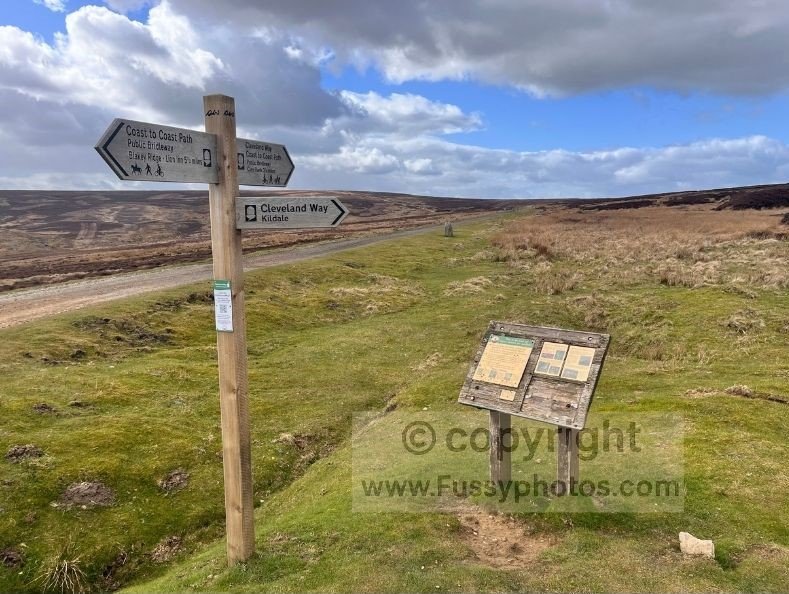
Reaching The Lion Inn is a psychological milestone. It arrives after a long, exposed morning and offers shelter, food and a break from the wind. Many walkers stop here for the night— some in a room, others pitching a tent in the beer garden.
South of the pub, the route returns to open moorland before dropping gradually towards Great Fryup Dale and the long ridge above Glaisdale Moor. This section is often windy, with big skies and wide panoramas. In good weather, though, it’s fast and open terrain.
The final descent into Glaisdale brings relief from the exposure. The village sits lower, sheltered, and marks the end of one of the Coast to Coast’s most sustained moorland days.
If you’d like to experience these moorland ridges, steep steps and big‑sky ascents from the opposite direction, my full Day 3 report — Charlton Bank → Danby Wiske — captures the east–west journey into Ingleby Cross and the edge of the North York Moors.
Glaisdale → Robin Hood’s Bay
This final stage is a long day that moves through quiet woodland, steep moorland, coastal cliffs and the atmospheric descent into Robin Hood’s Bay.
From Glaisdale, the route follows the River Esk through peaceful woodland before rising into Arnecliffe Wood and dropping briefly to water level. After Littlebeck, the trail climbs through dense trees past The Hermitage and Falling Foss, a short but attractive valley section that quickly gives way to exposed moorland.
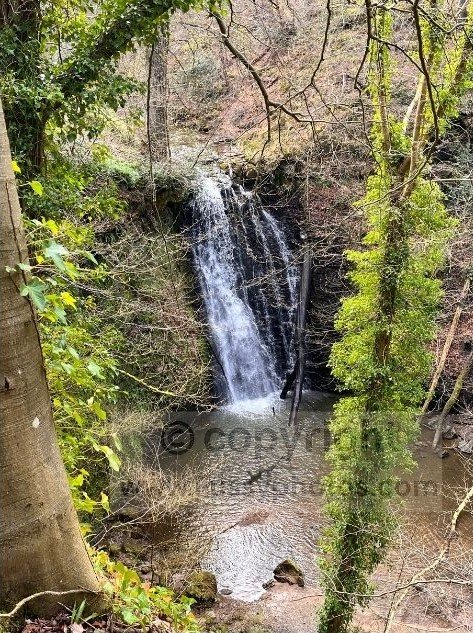
Sneaton Low Moor and Sleights Moor are the toughest parts of the day — bleak, wind‑hit and shaped by the 2025 wildfire. Weather fronts move fast here, and hail or driving rain can arrive without warning. The steep ascent into Grosmont is dramatic, gaining over 200 metres and giving the legs a final test before the moorland eases.
The coastal walking above Robin Hood’s Bay is superb — dramatic cliffs at Normanby Stye Batts, sweeping views towards Maw Wyke, and wave‑cut platforms that make this brief Cleveland Way section one of the most memorable parts of the whole route. It’s also the second time the Coast to Coast follows the Cleveland Way, and like the moorland ridge earlier in the walk, it’s an outstanding stretch of trail.
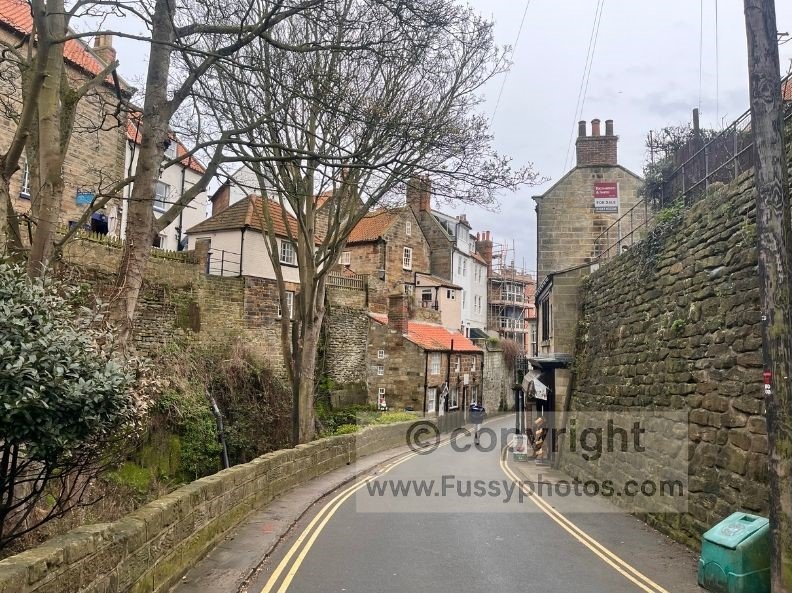
For a look at this coastline — starting in Robin Hood’s Bay and heading inland towards Egton Bridge — see my full Day 1 report.
If reading this full section‑by‑section overview has you thinking about your own Coast to Coast journey — whether a full thru‑walk or a shorter, flexible section — you’ll find a complete breakdown of how to shape the walk around your time, fitness, direction and daily mileage in How to Plan Your Best Coast to Coast Walk.
Explore the Full Coast to Coast Hub
For planning, logistics, route options and every stage in reverse, the full Coast to Coast hub brings all guides together in one place.